Custom Boxx Controller
A downloadable Boxx Controller
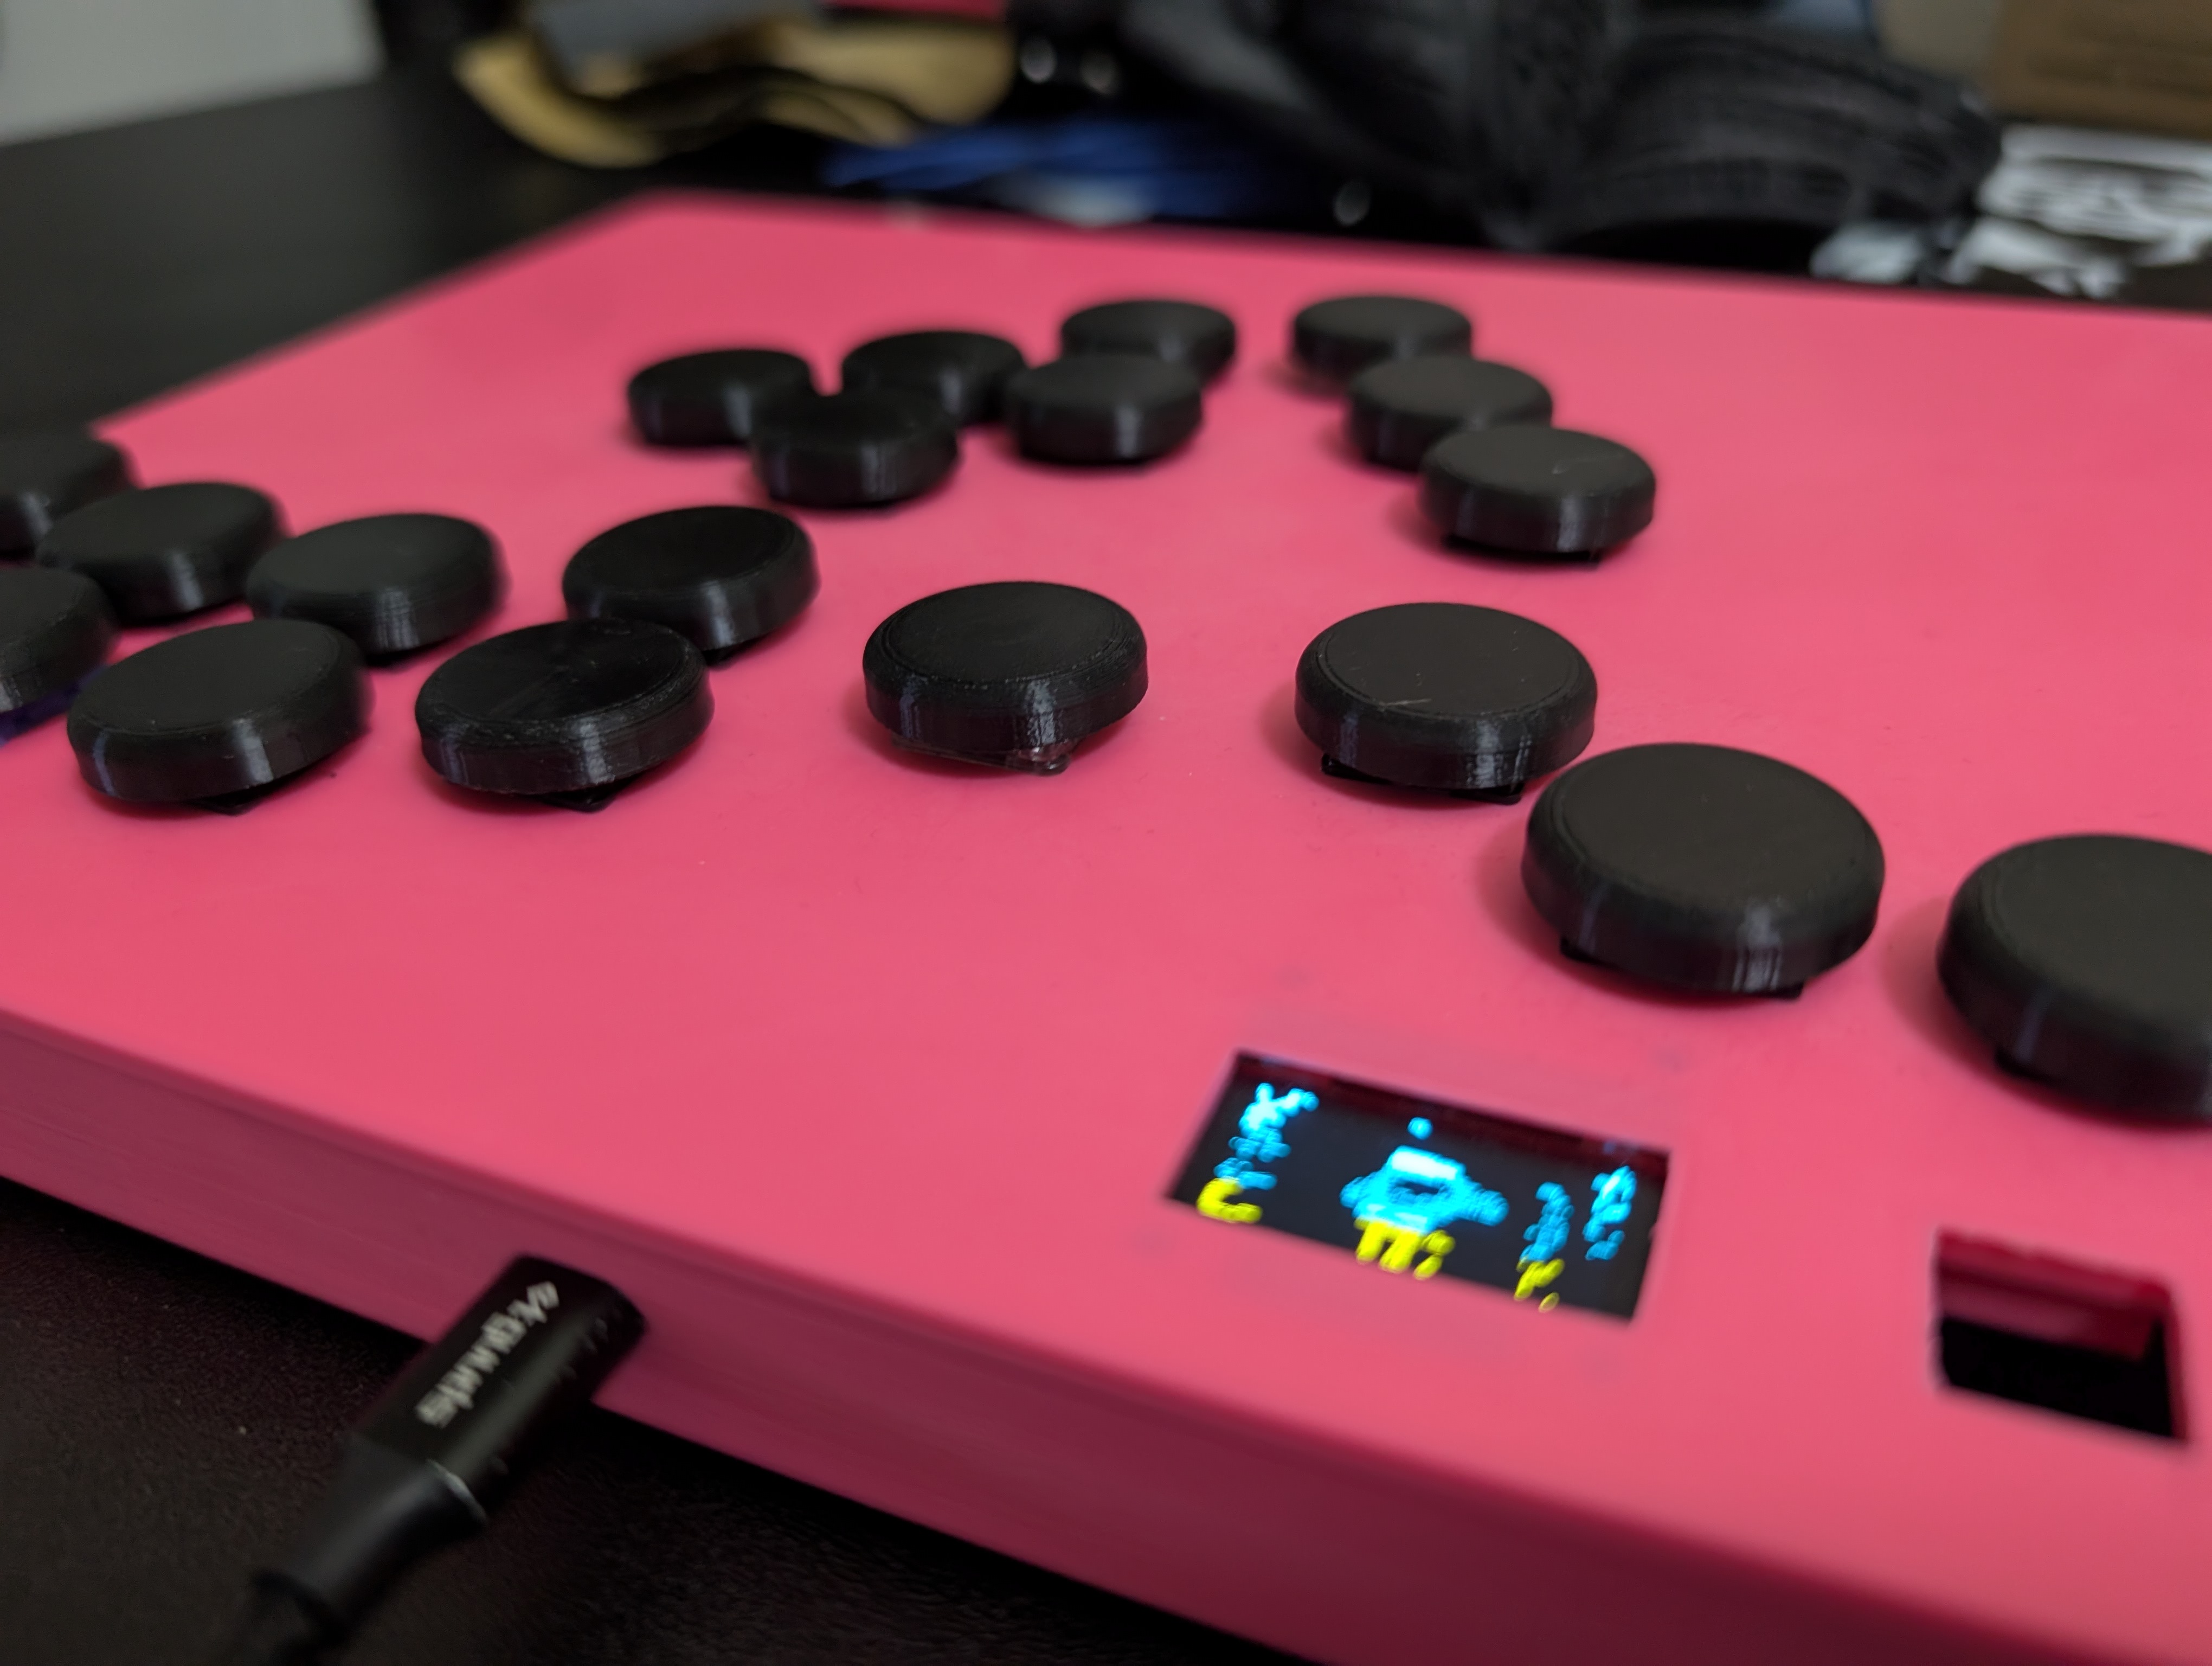
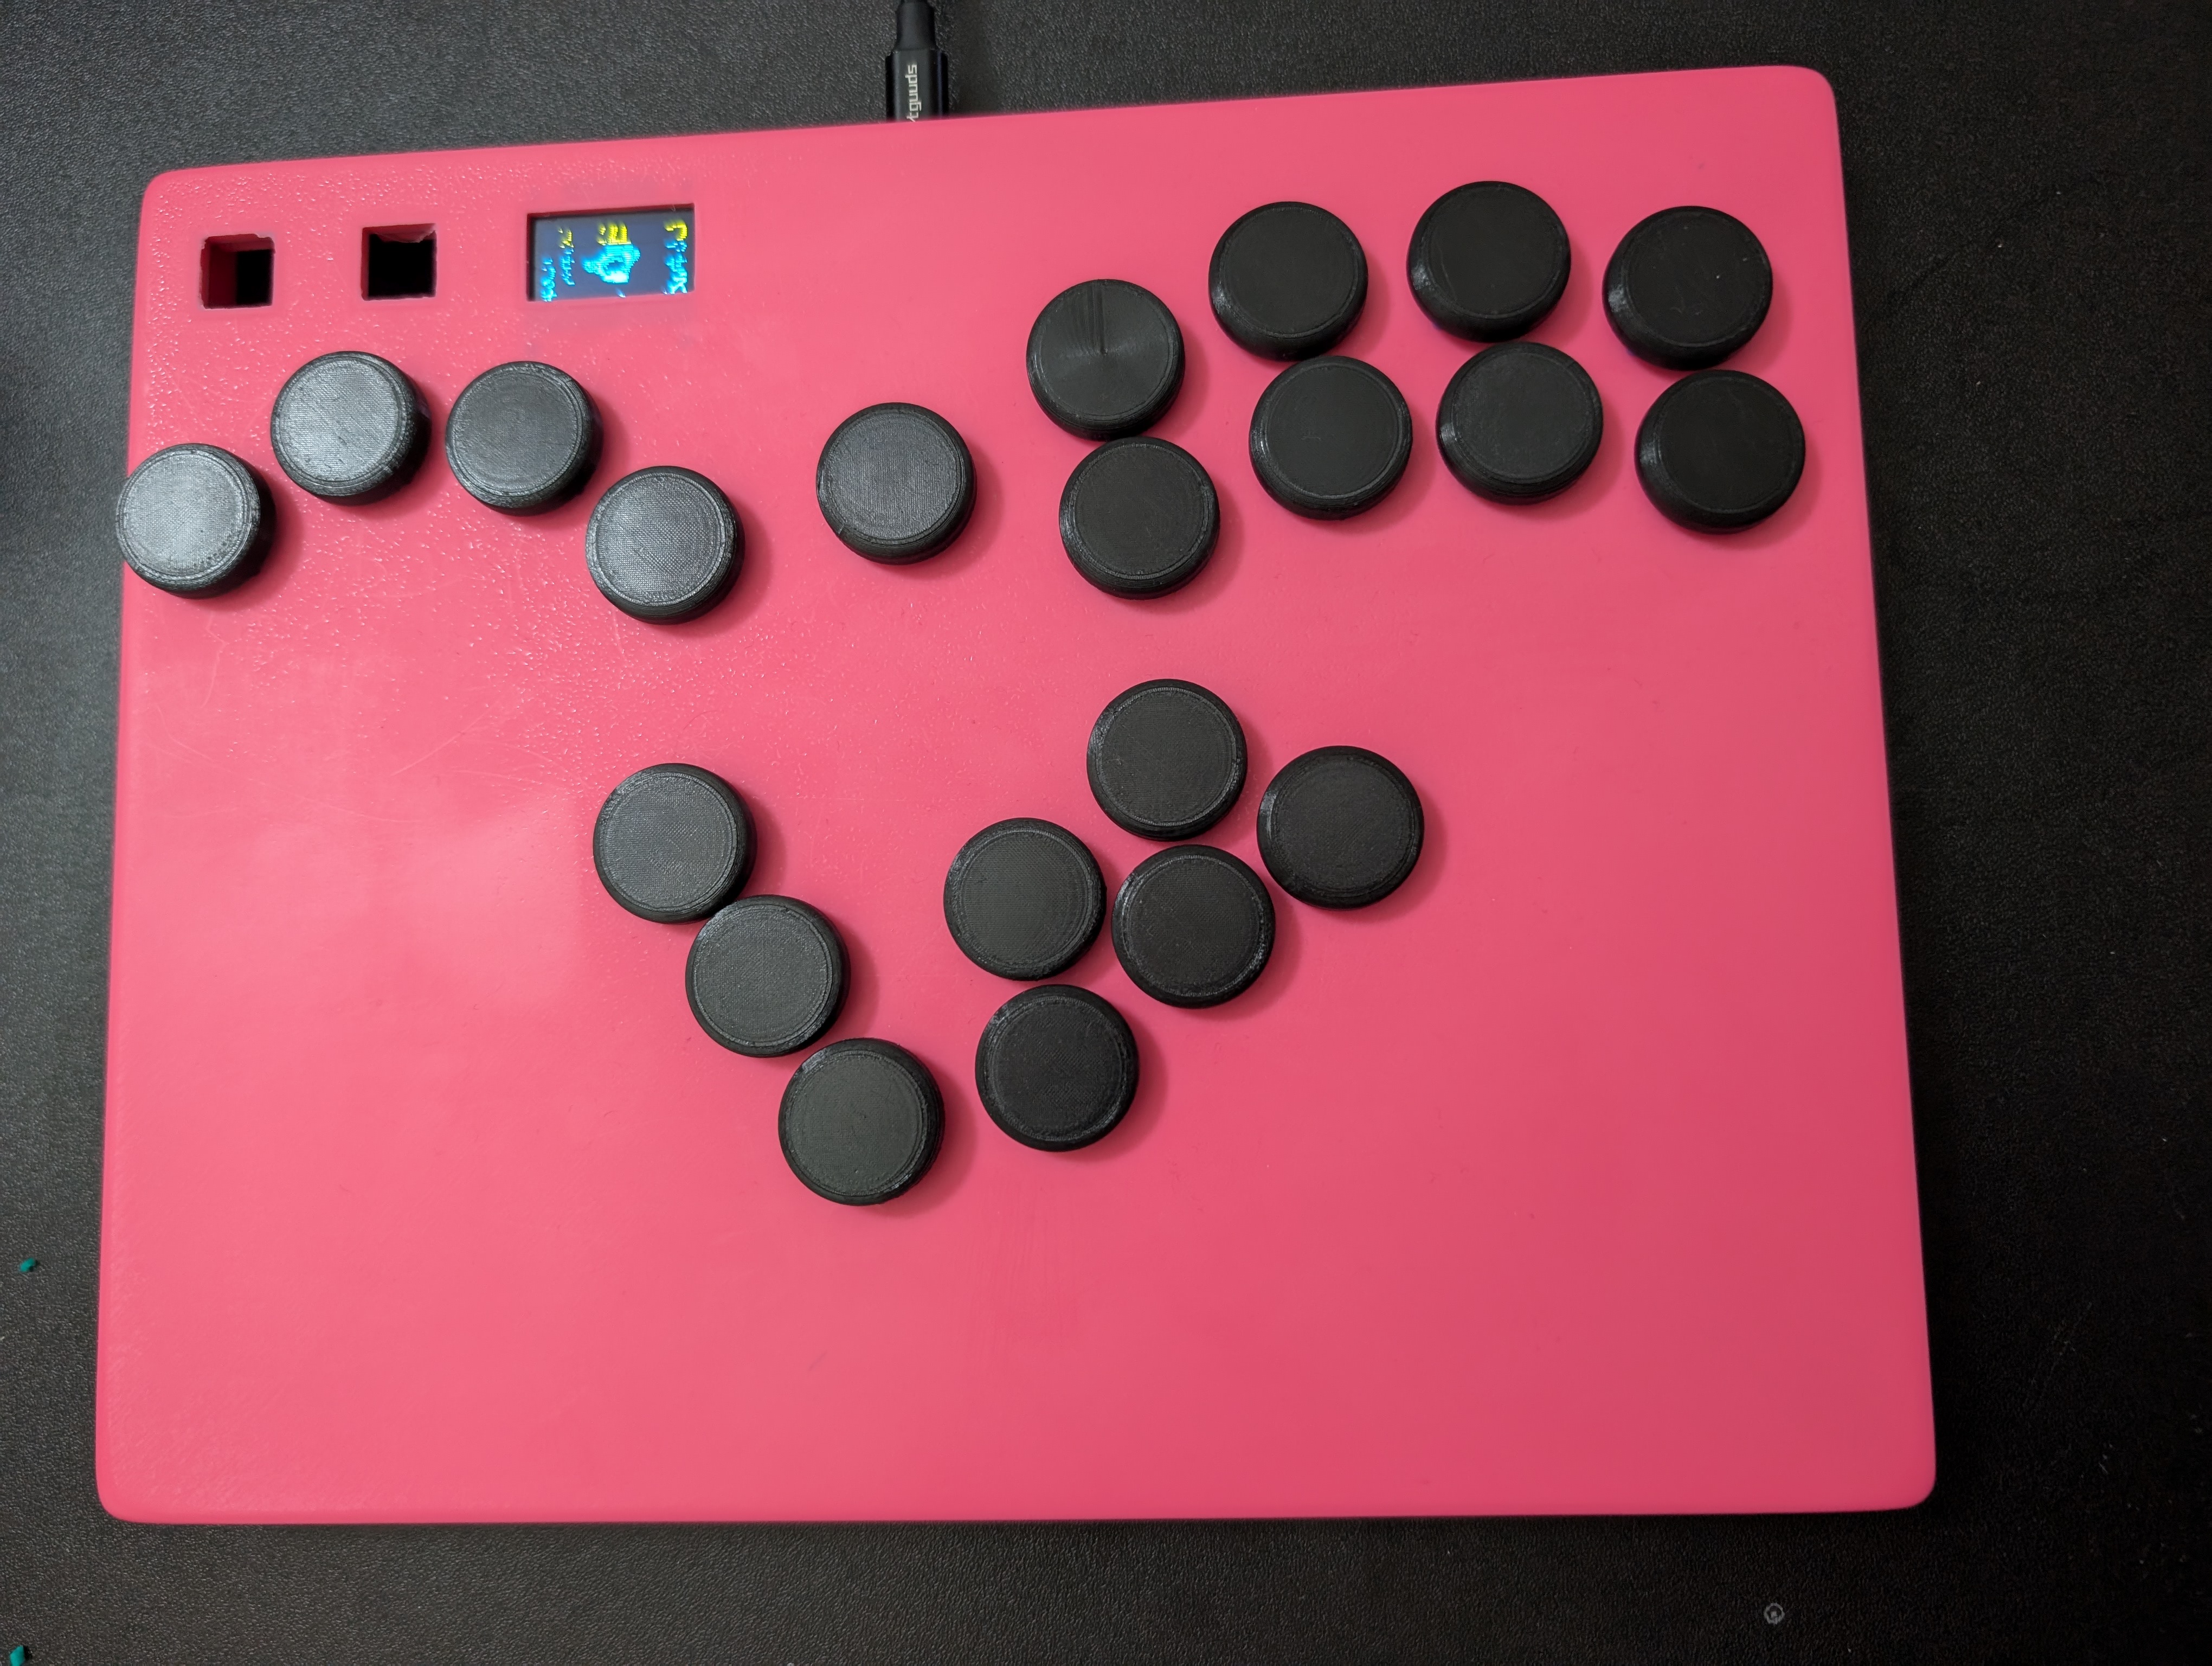
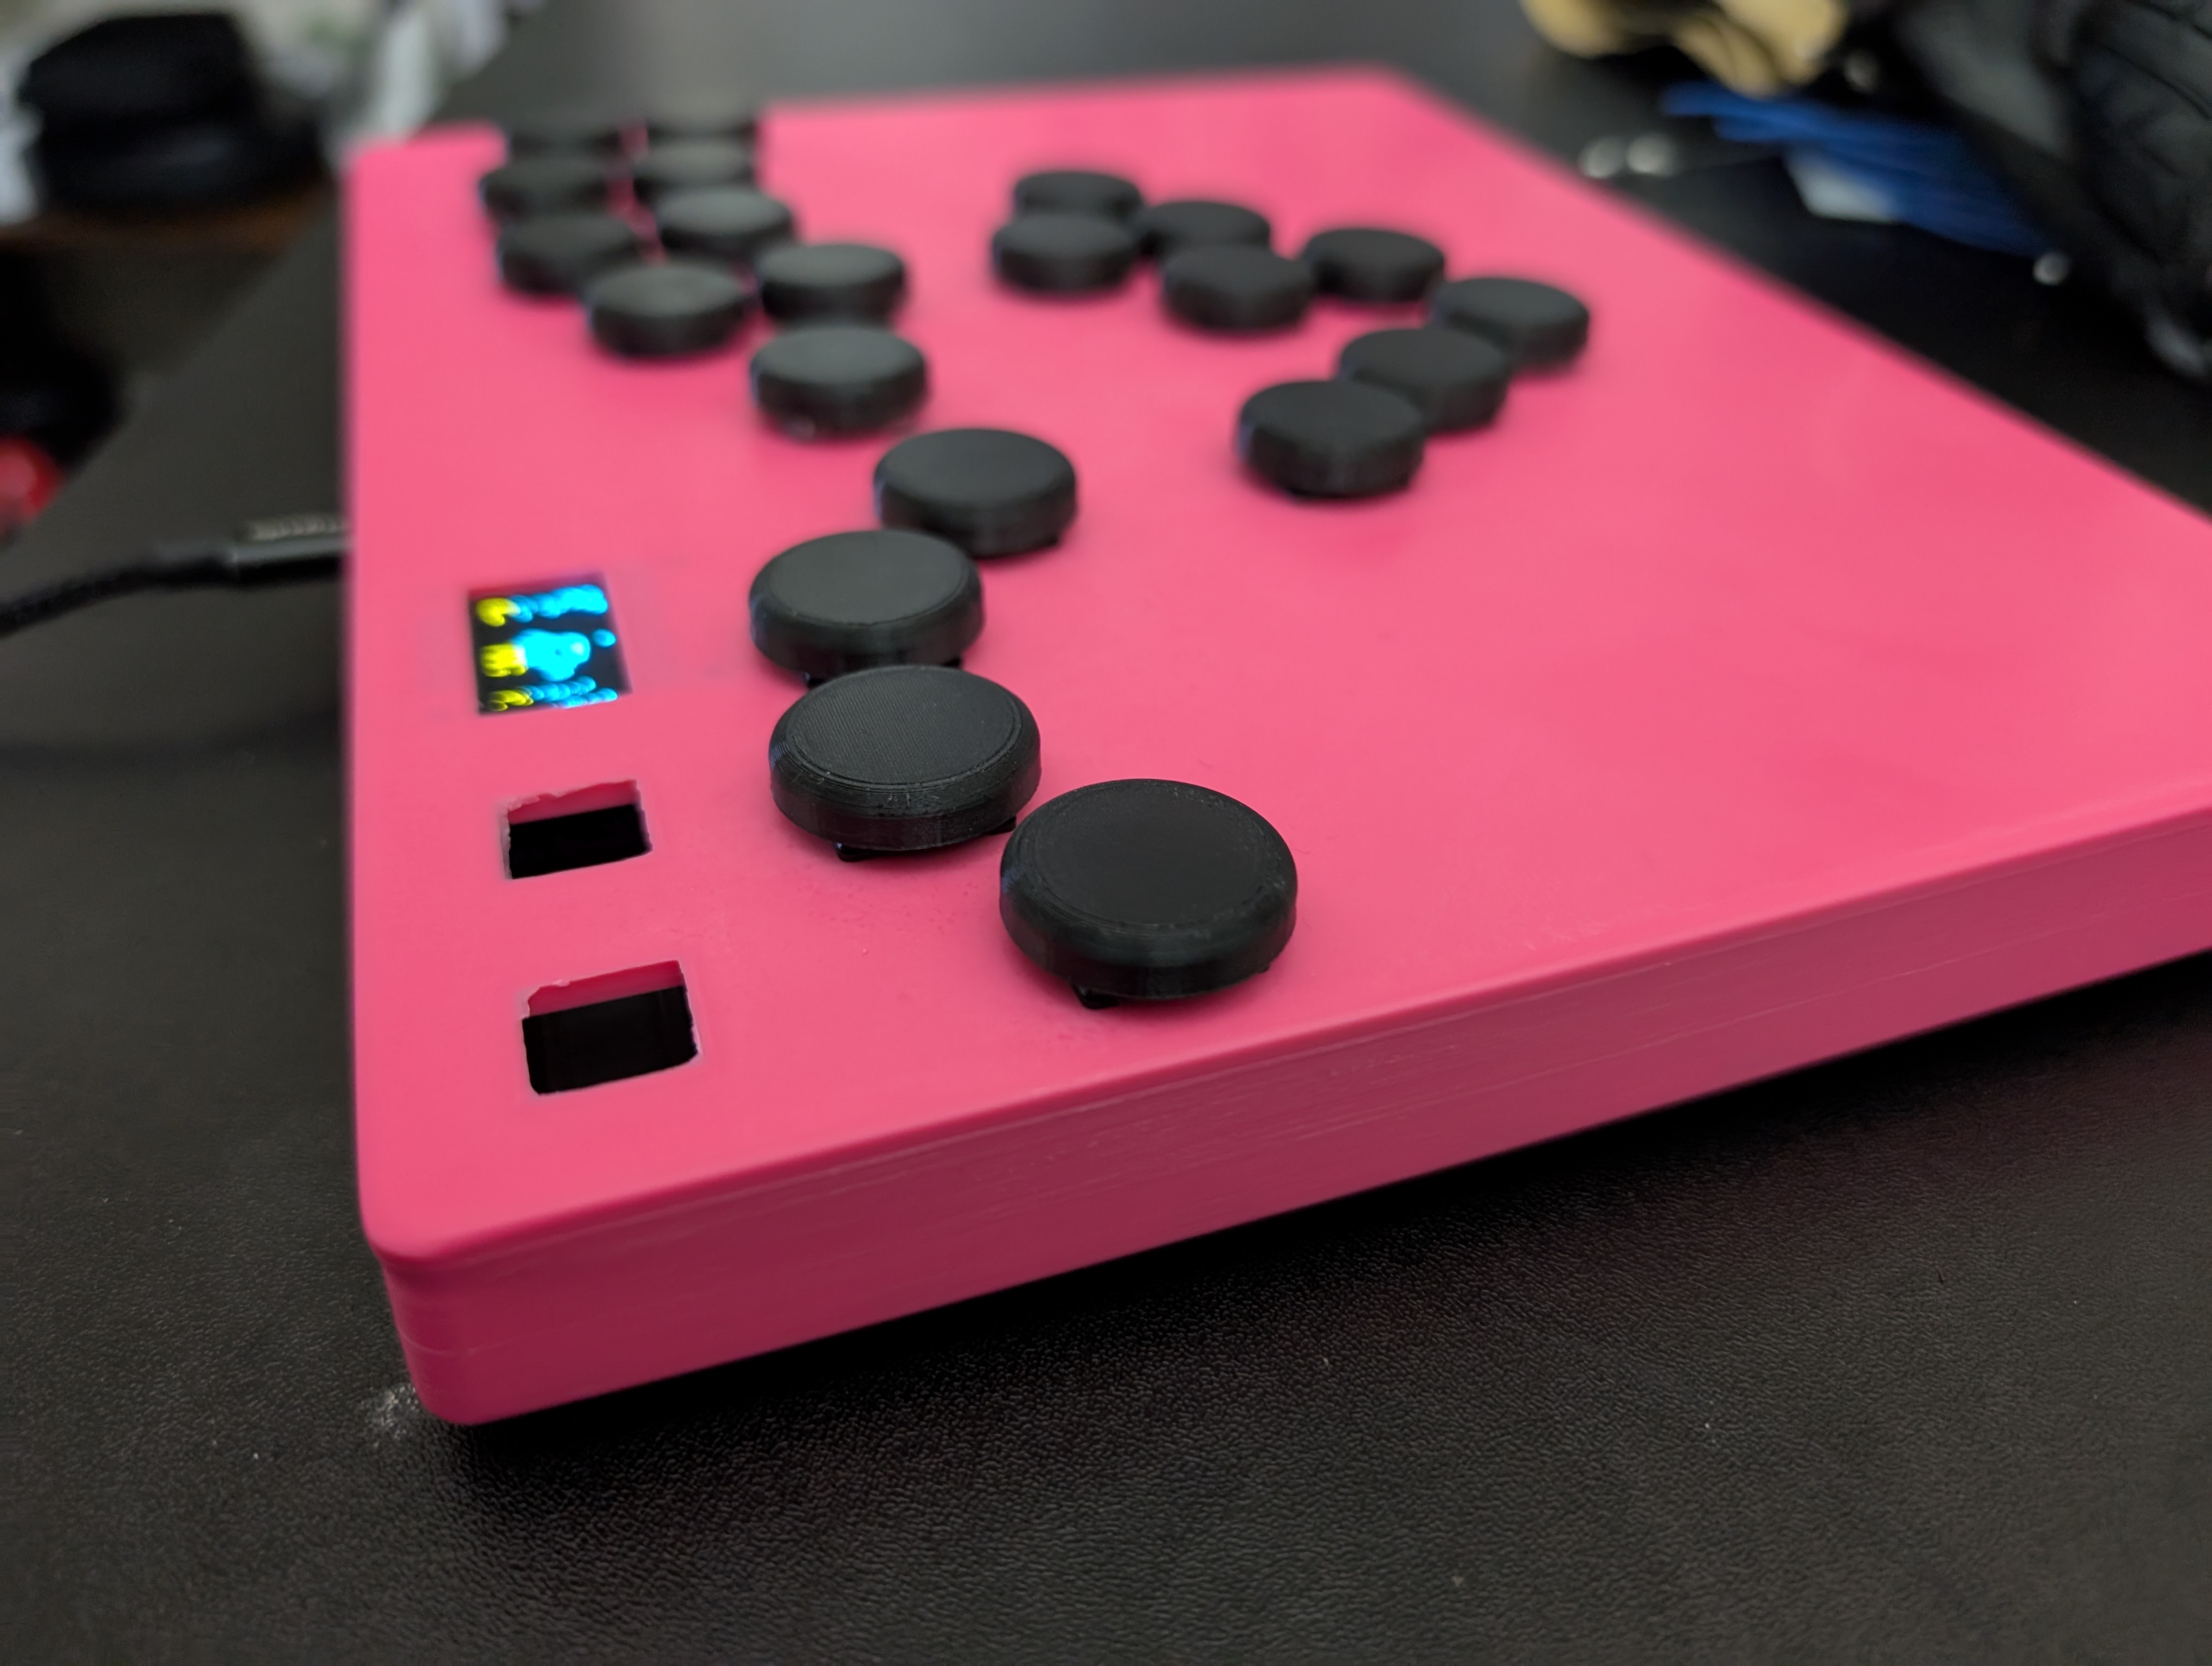
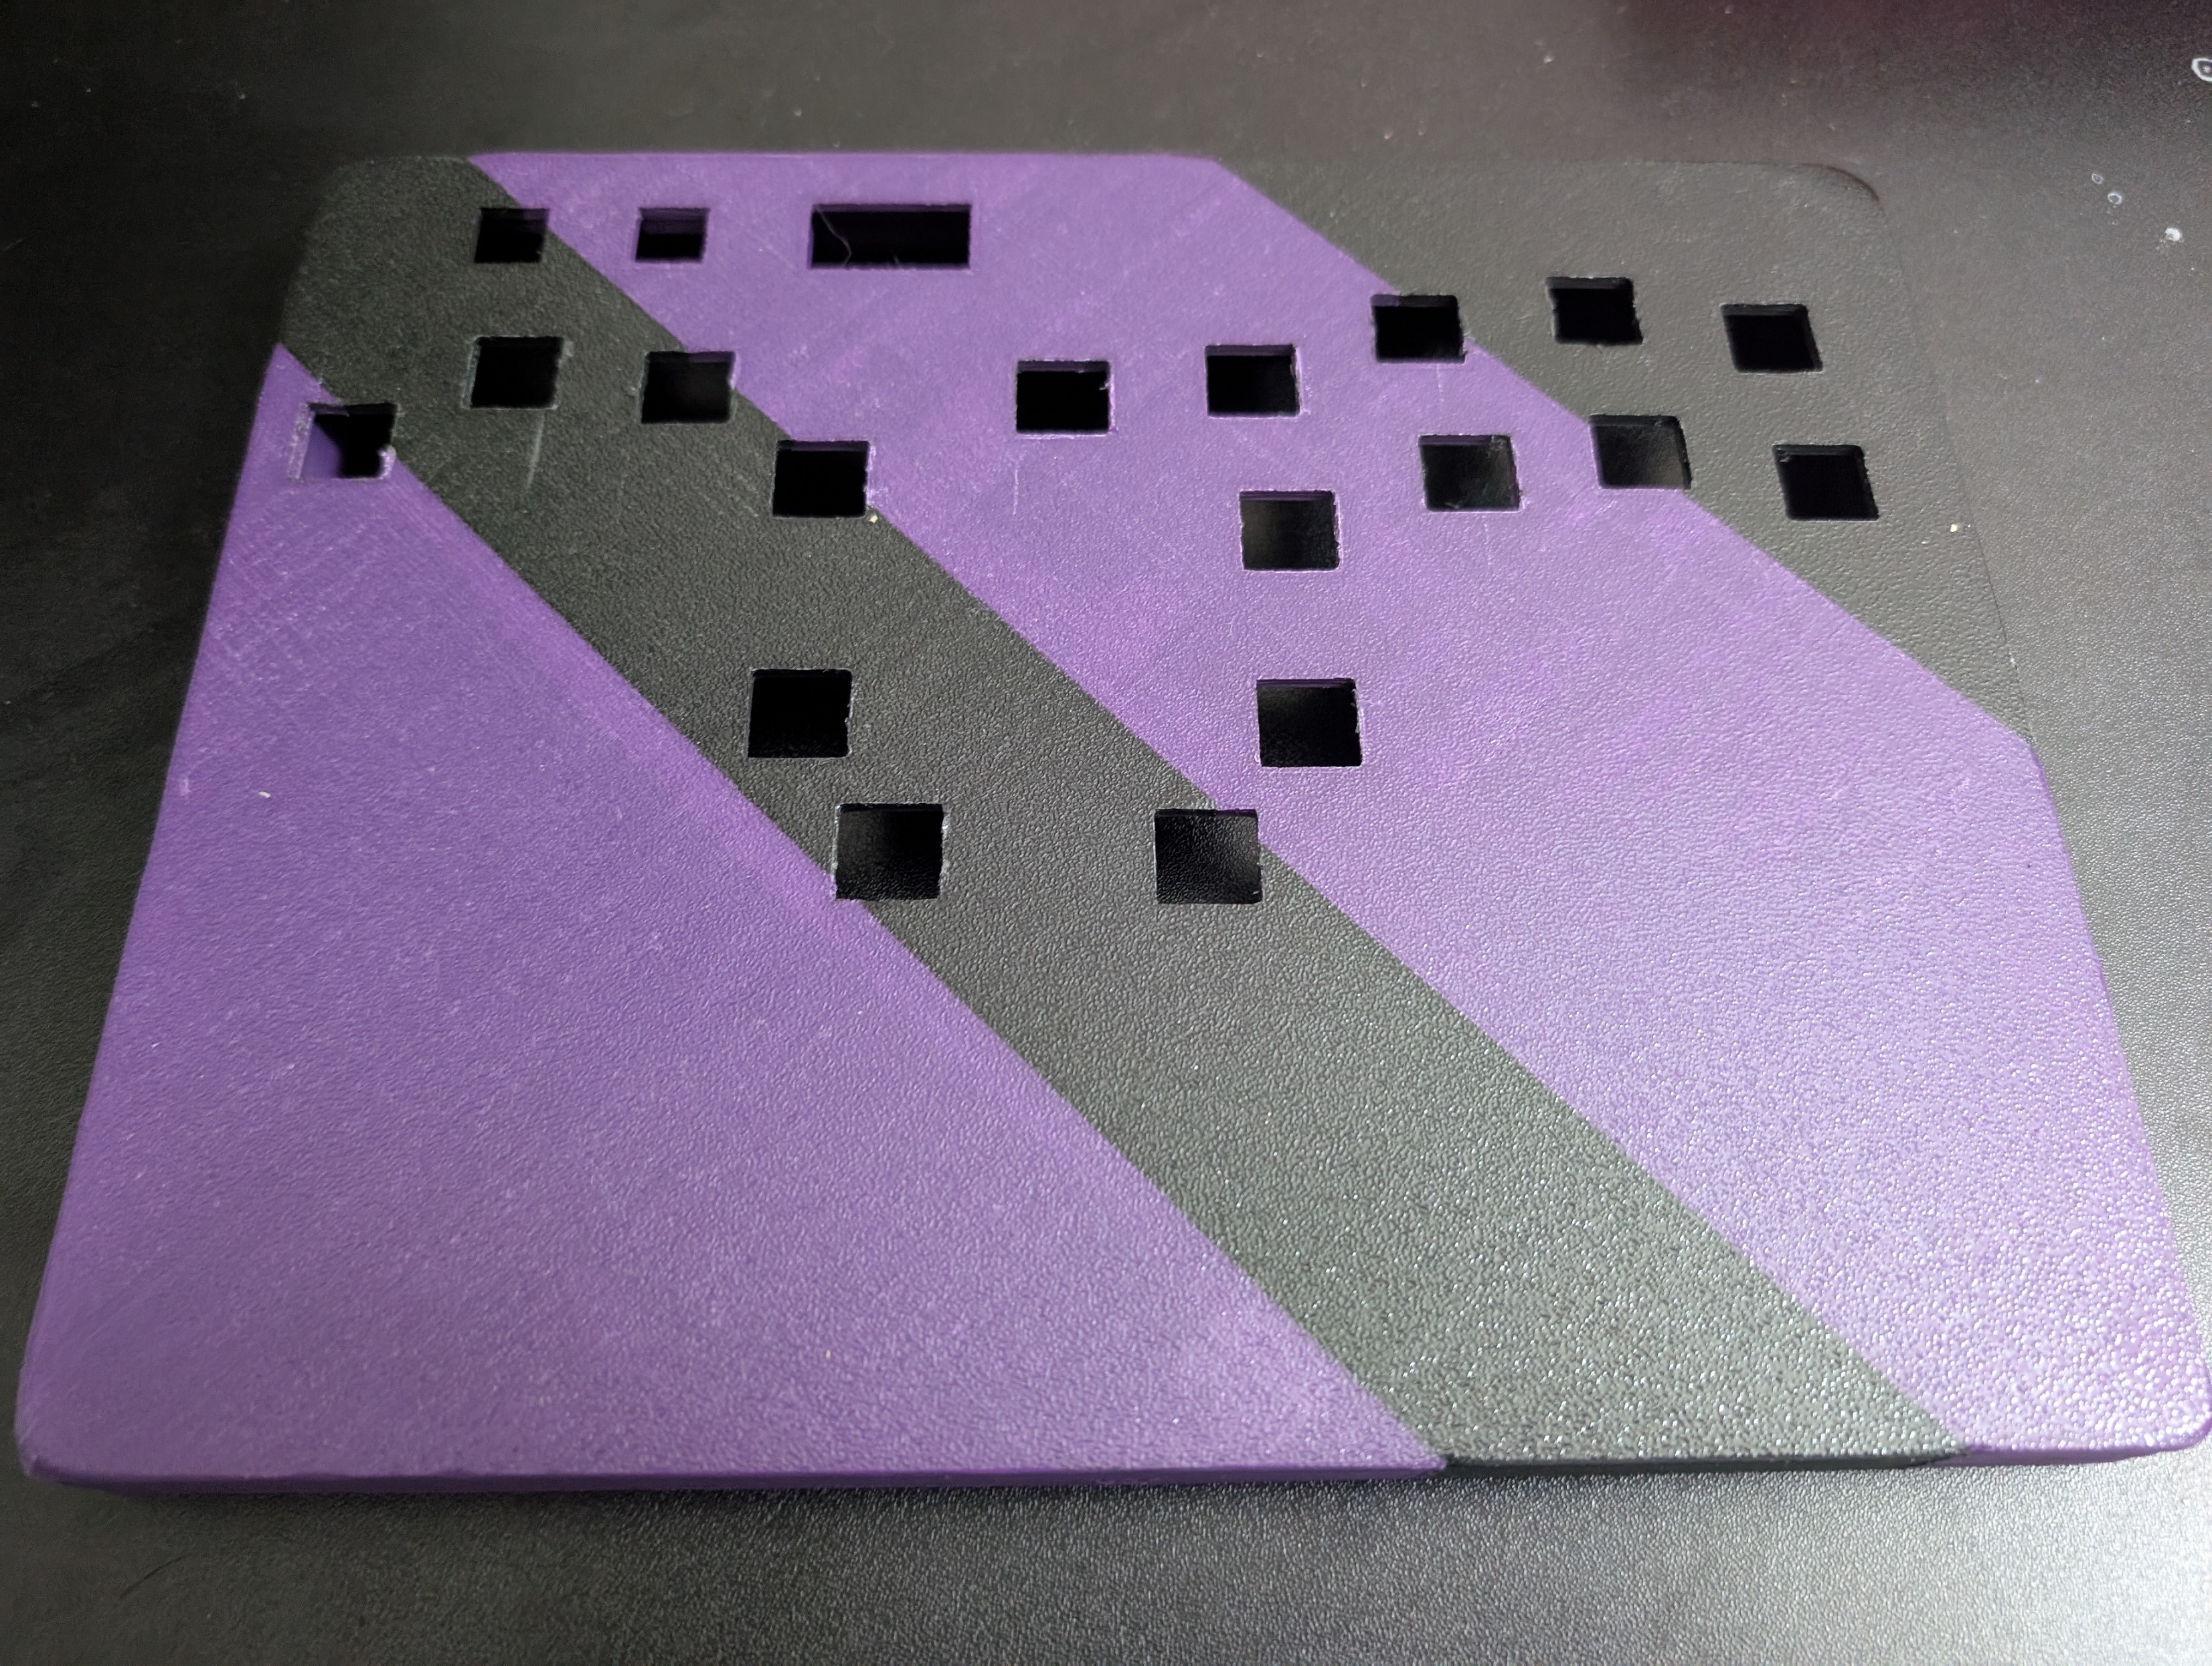
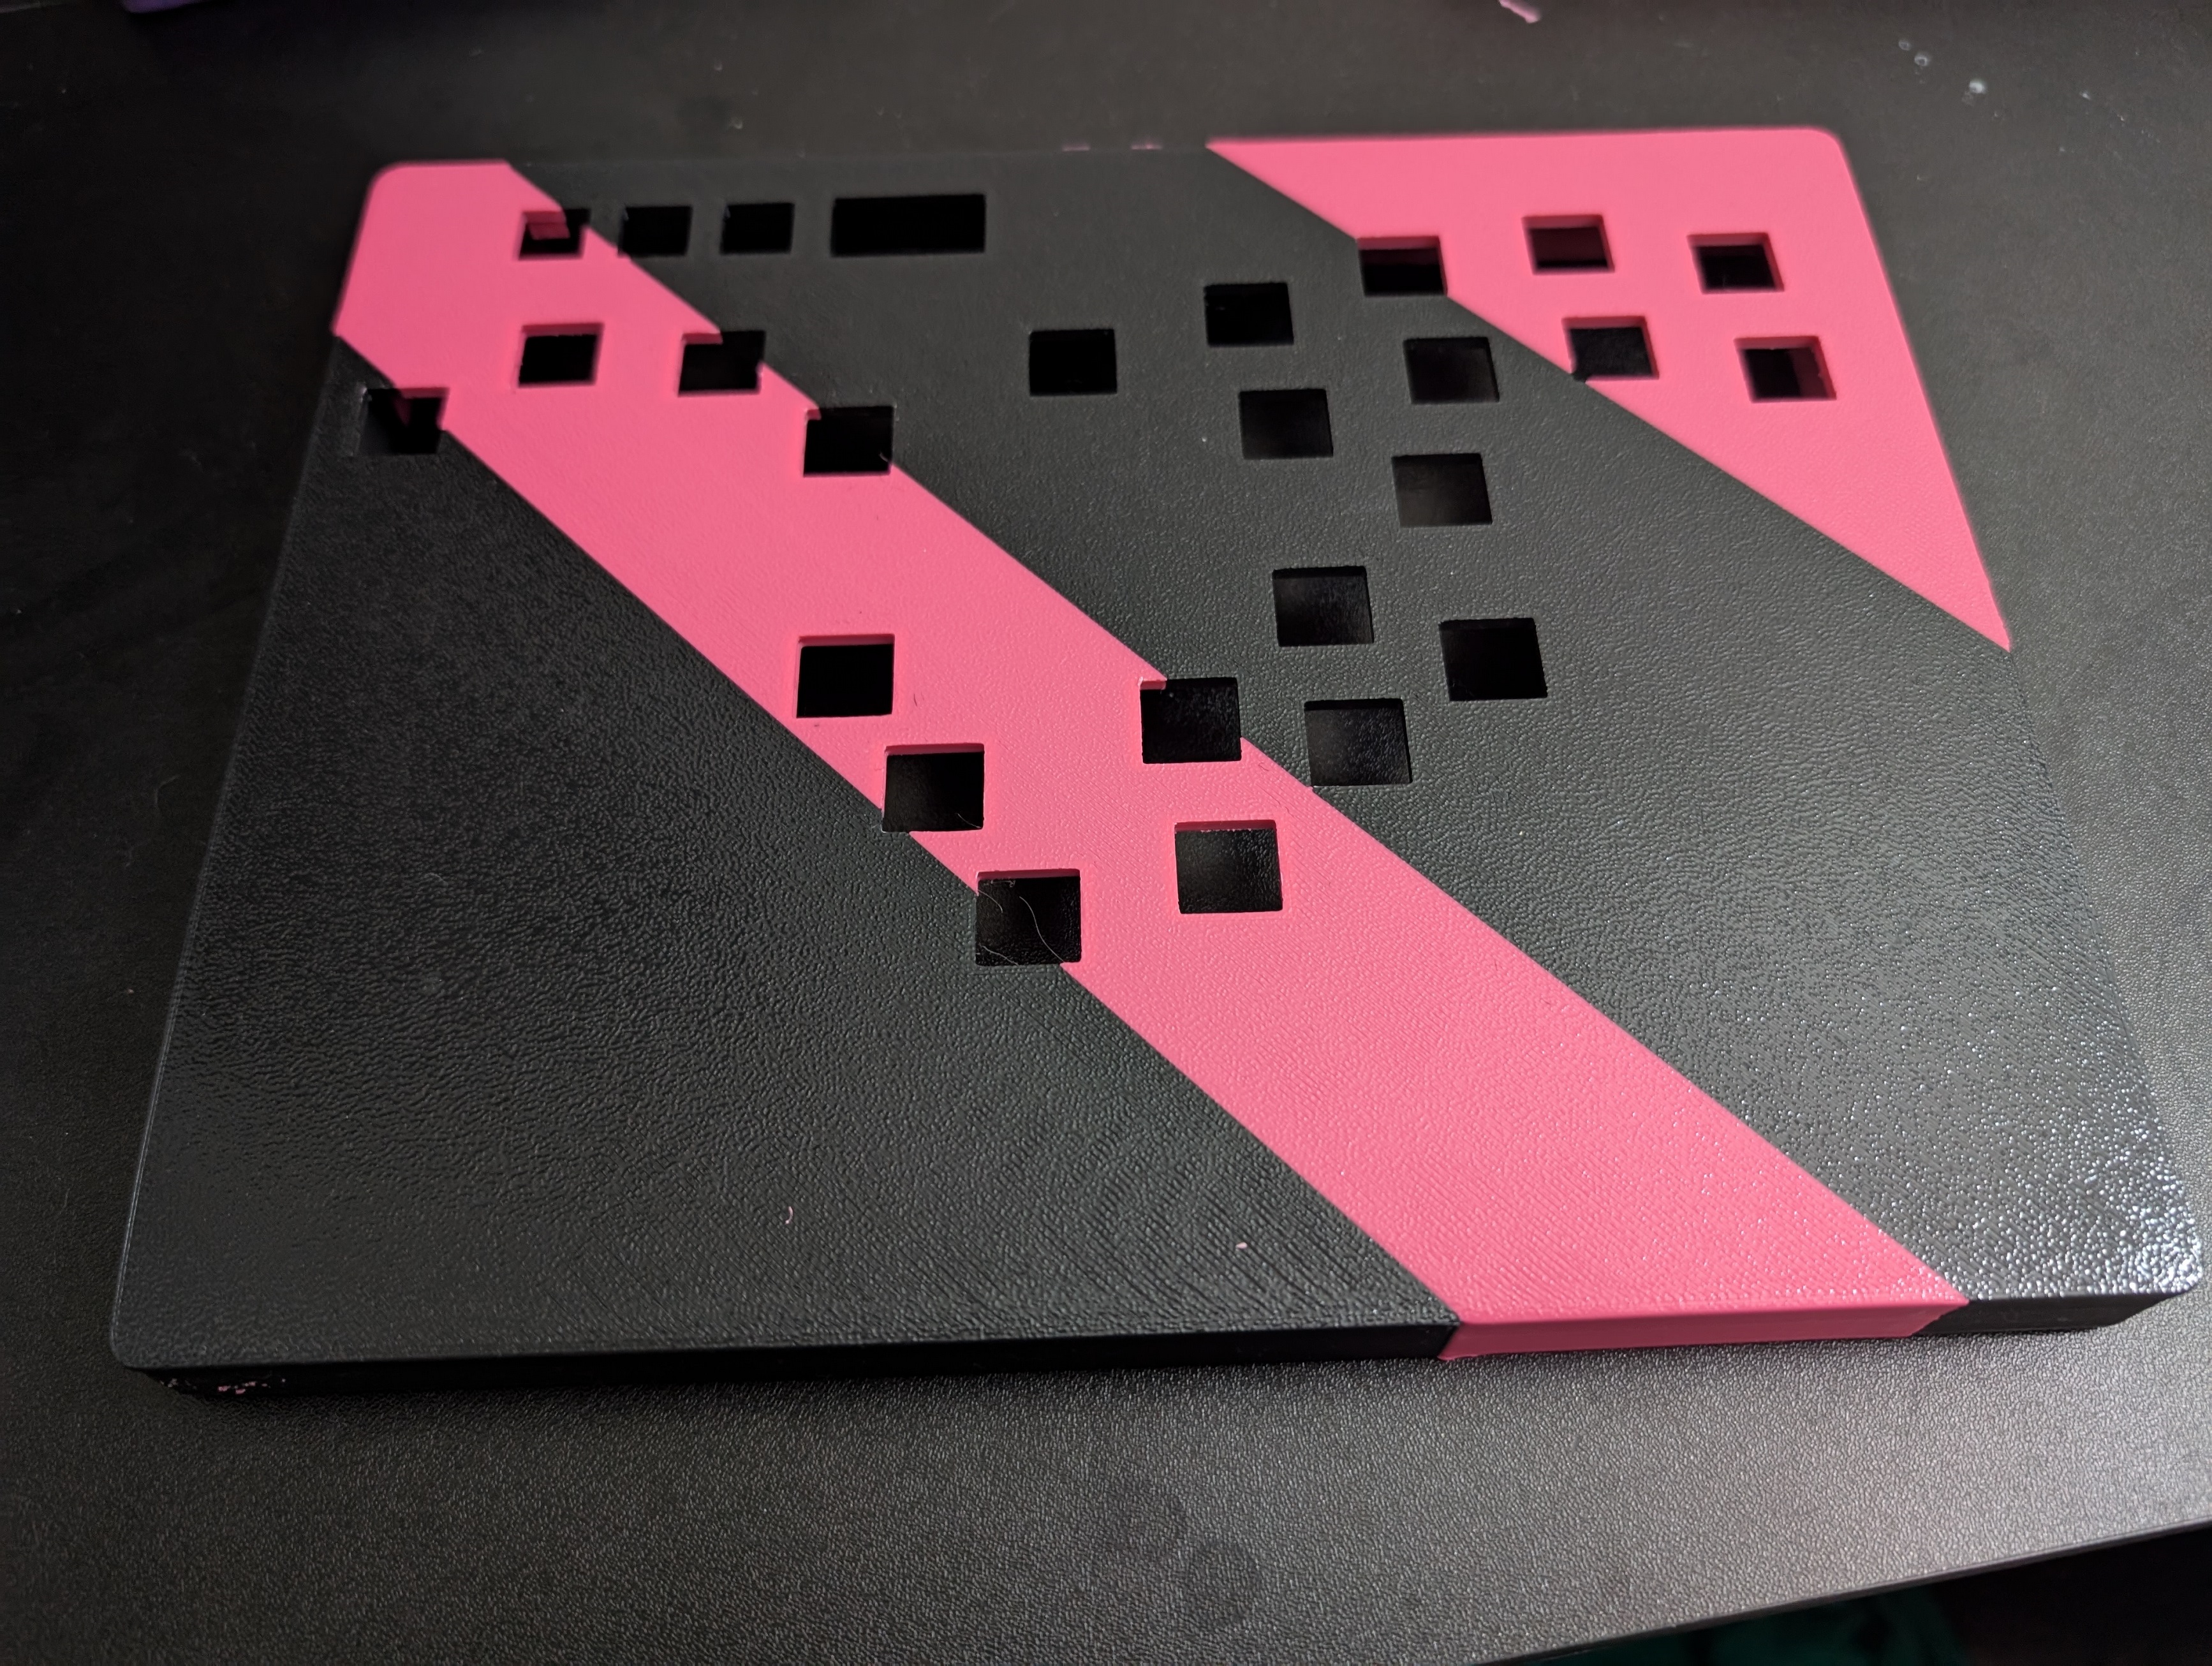
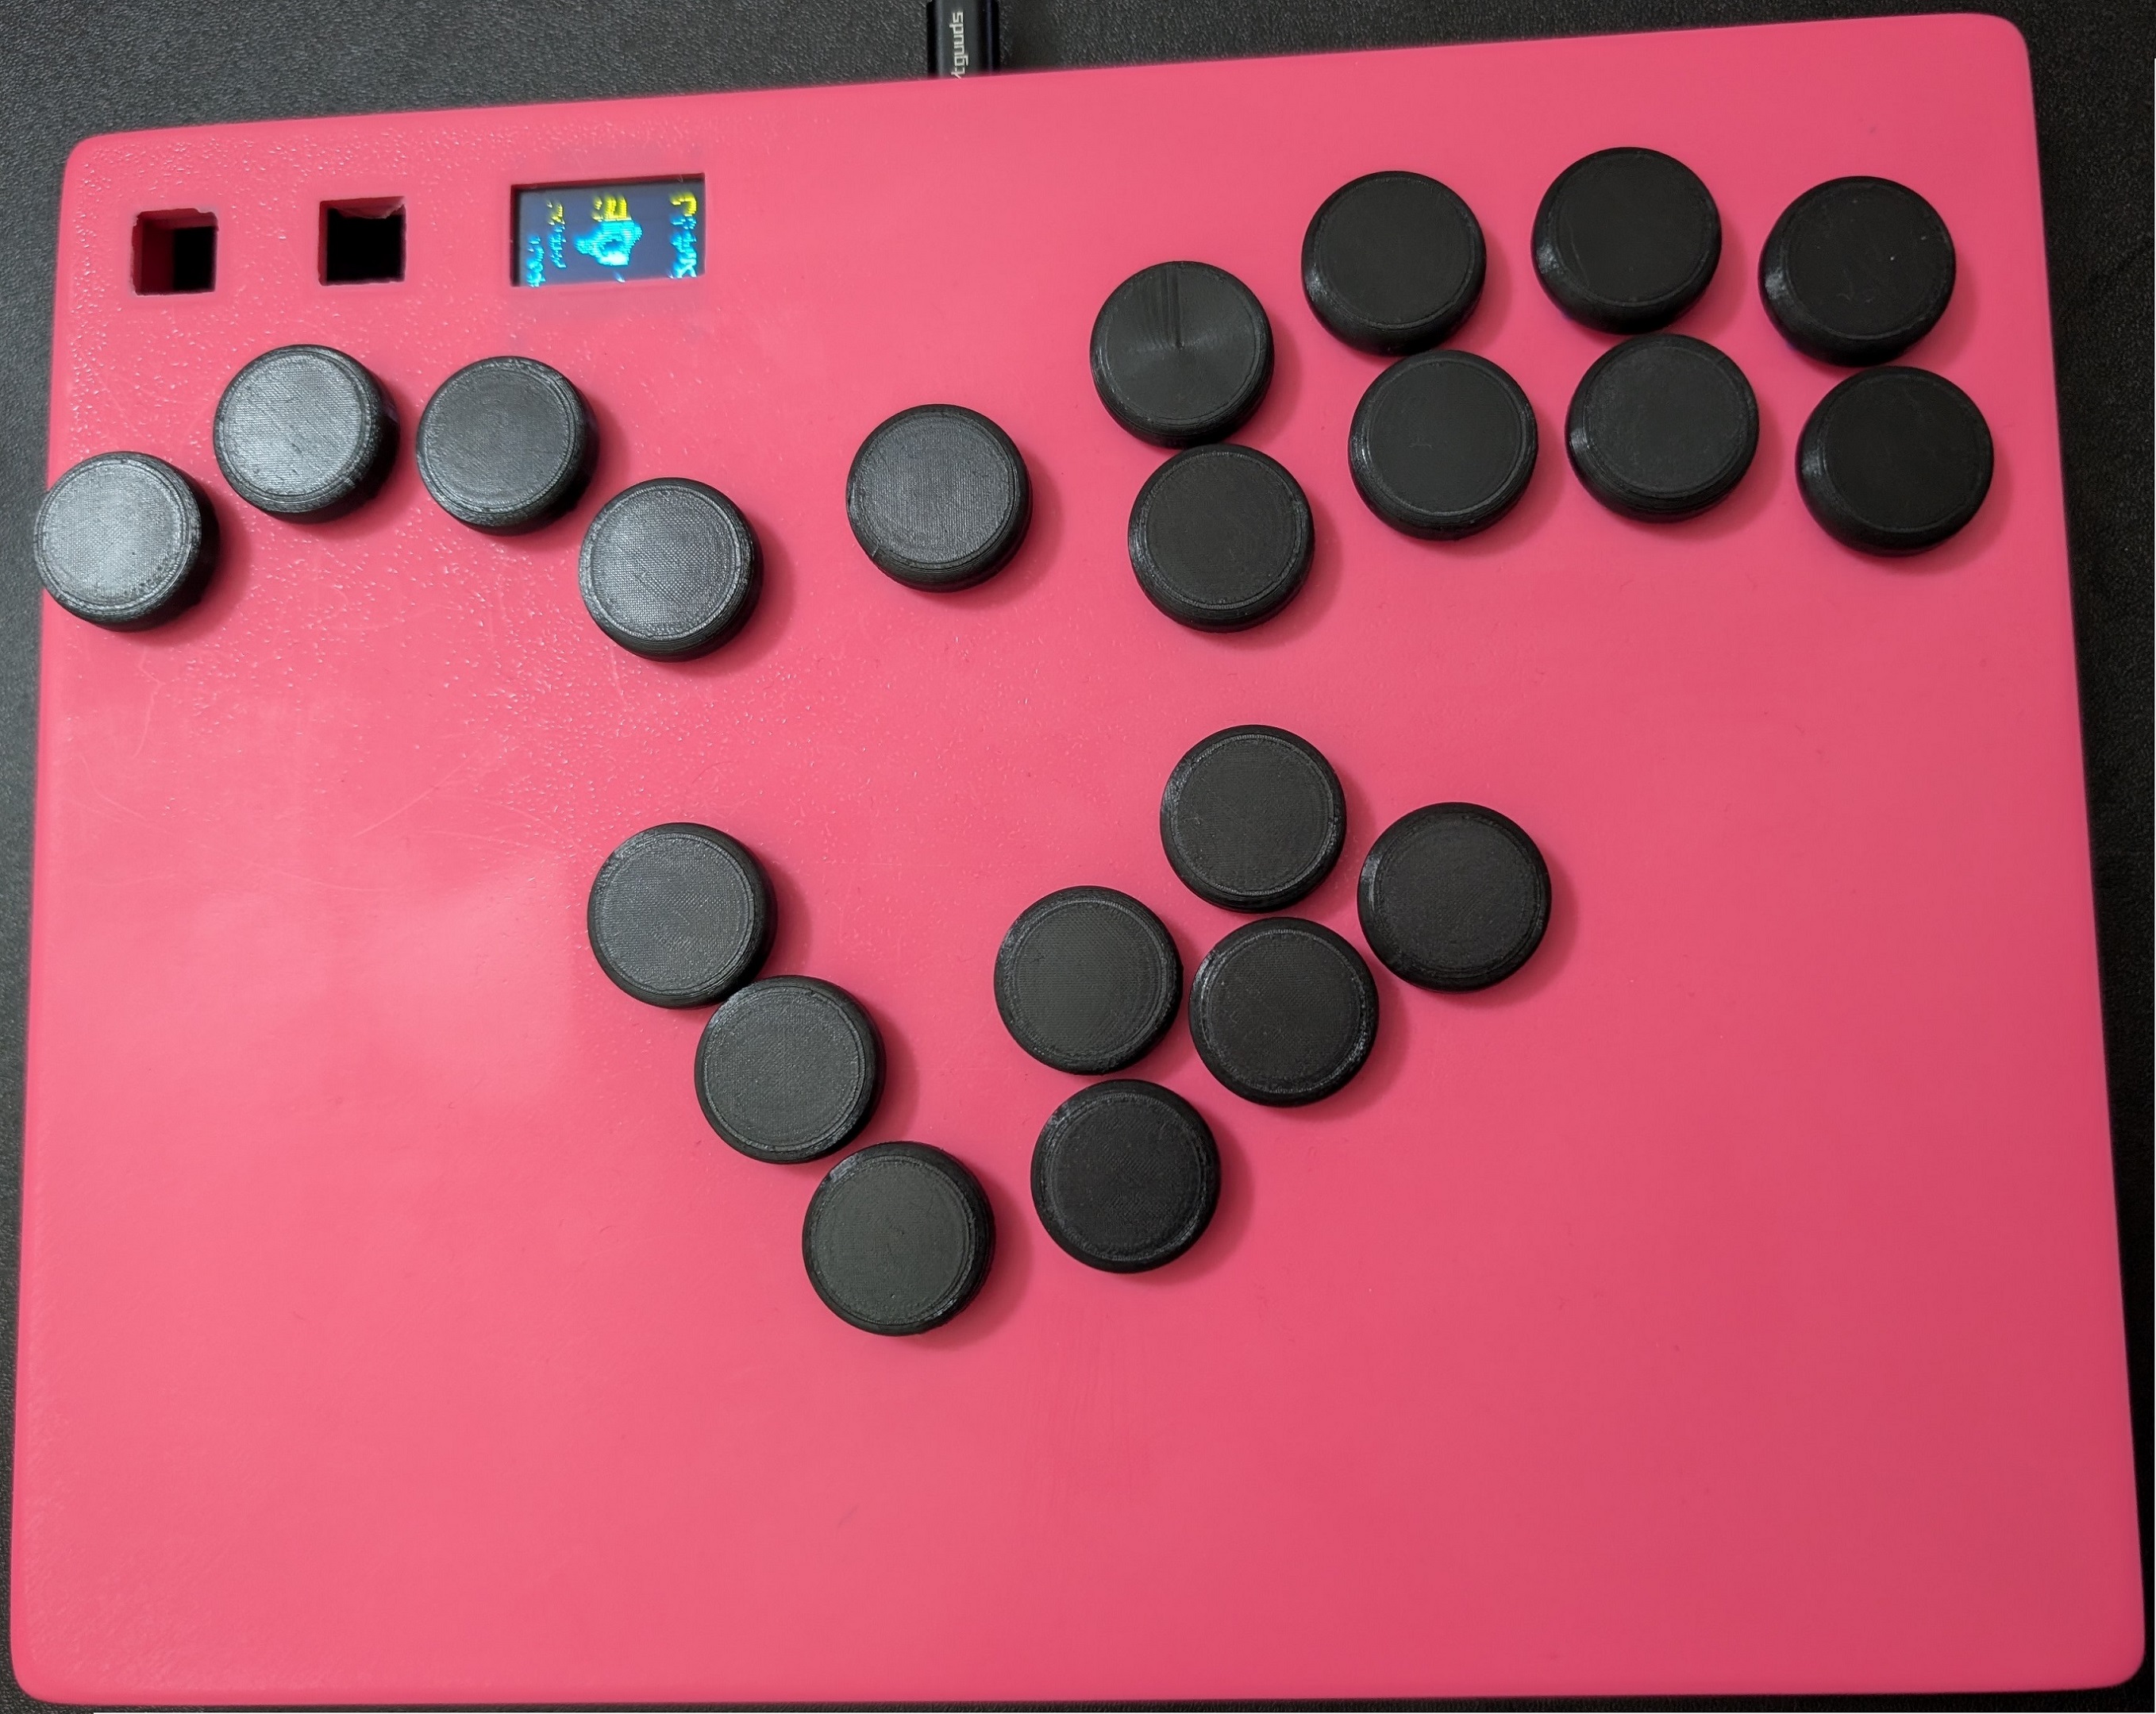
Project Overview: Here's a box controller I designed from scratch for Super Smash Brother's Melee! This project was made in Fusion360 for 3d printing in mind. It utilizes a Raspberry Pi Pico, an extended usb-c breakout board, mini 2 prong buttons, an OLED screen, and hotswap sockets allowing swappable button switches. Everything is hand wired to the Pi Pico and slotted into place with custom designed covers and clips. The build comes together and apart with no screws or glue. The internals are friction fit and the front and back panel assemble with simple clips and slots.
Below are the various things that went into the project, along with information on how to build it yourself!
Print Settings: For 3d printing my own build, I used a Bambu Lab's A1 with 0.2mm nozzle and default settings for max quality for every part. Through a decent amount of test prints I decided that the tradeoffs in speed that come with a smaller nozzle (0.2mm) and max quality settings were worth it, as the prints often warped with faster printing speeds and tolerances with keyswitches/friction fit parts could be inconsistent with larger nozzles.
Multi-Colored Printing: I tested with different layouts of multicolored filament prints but settled with a solid color print as I was tight on time and filament, but I found that multicolored prints (while they cost a lot in wasted filament with a 0.2mm nozzle) haven't caused me any issues.
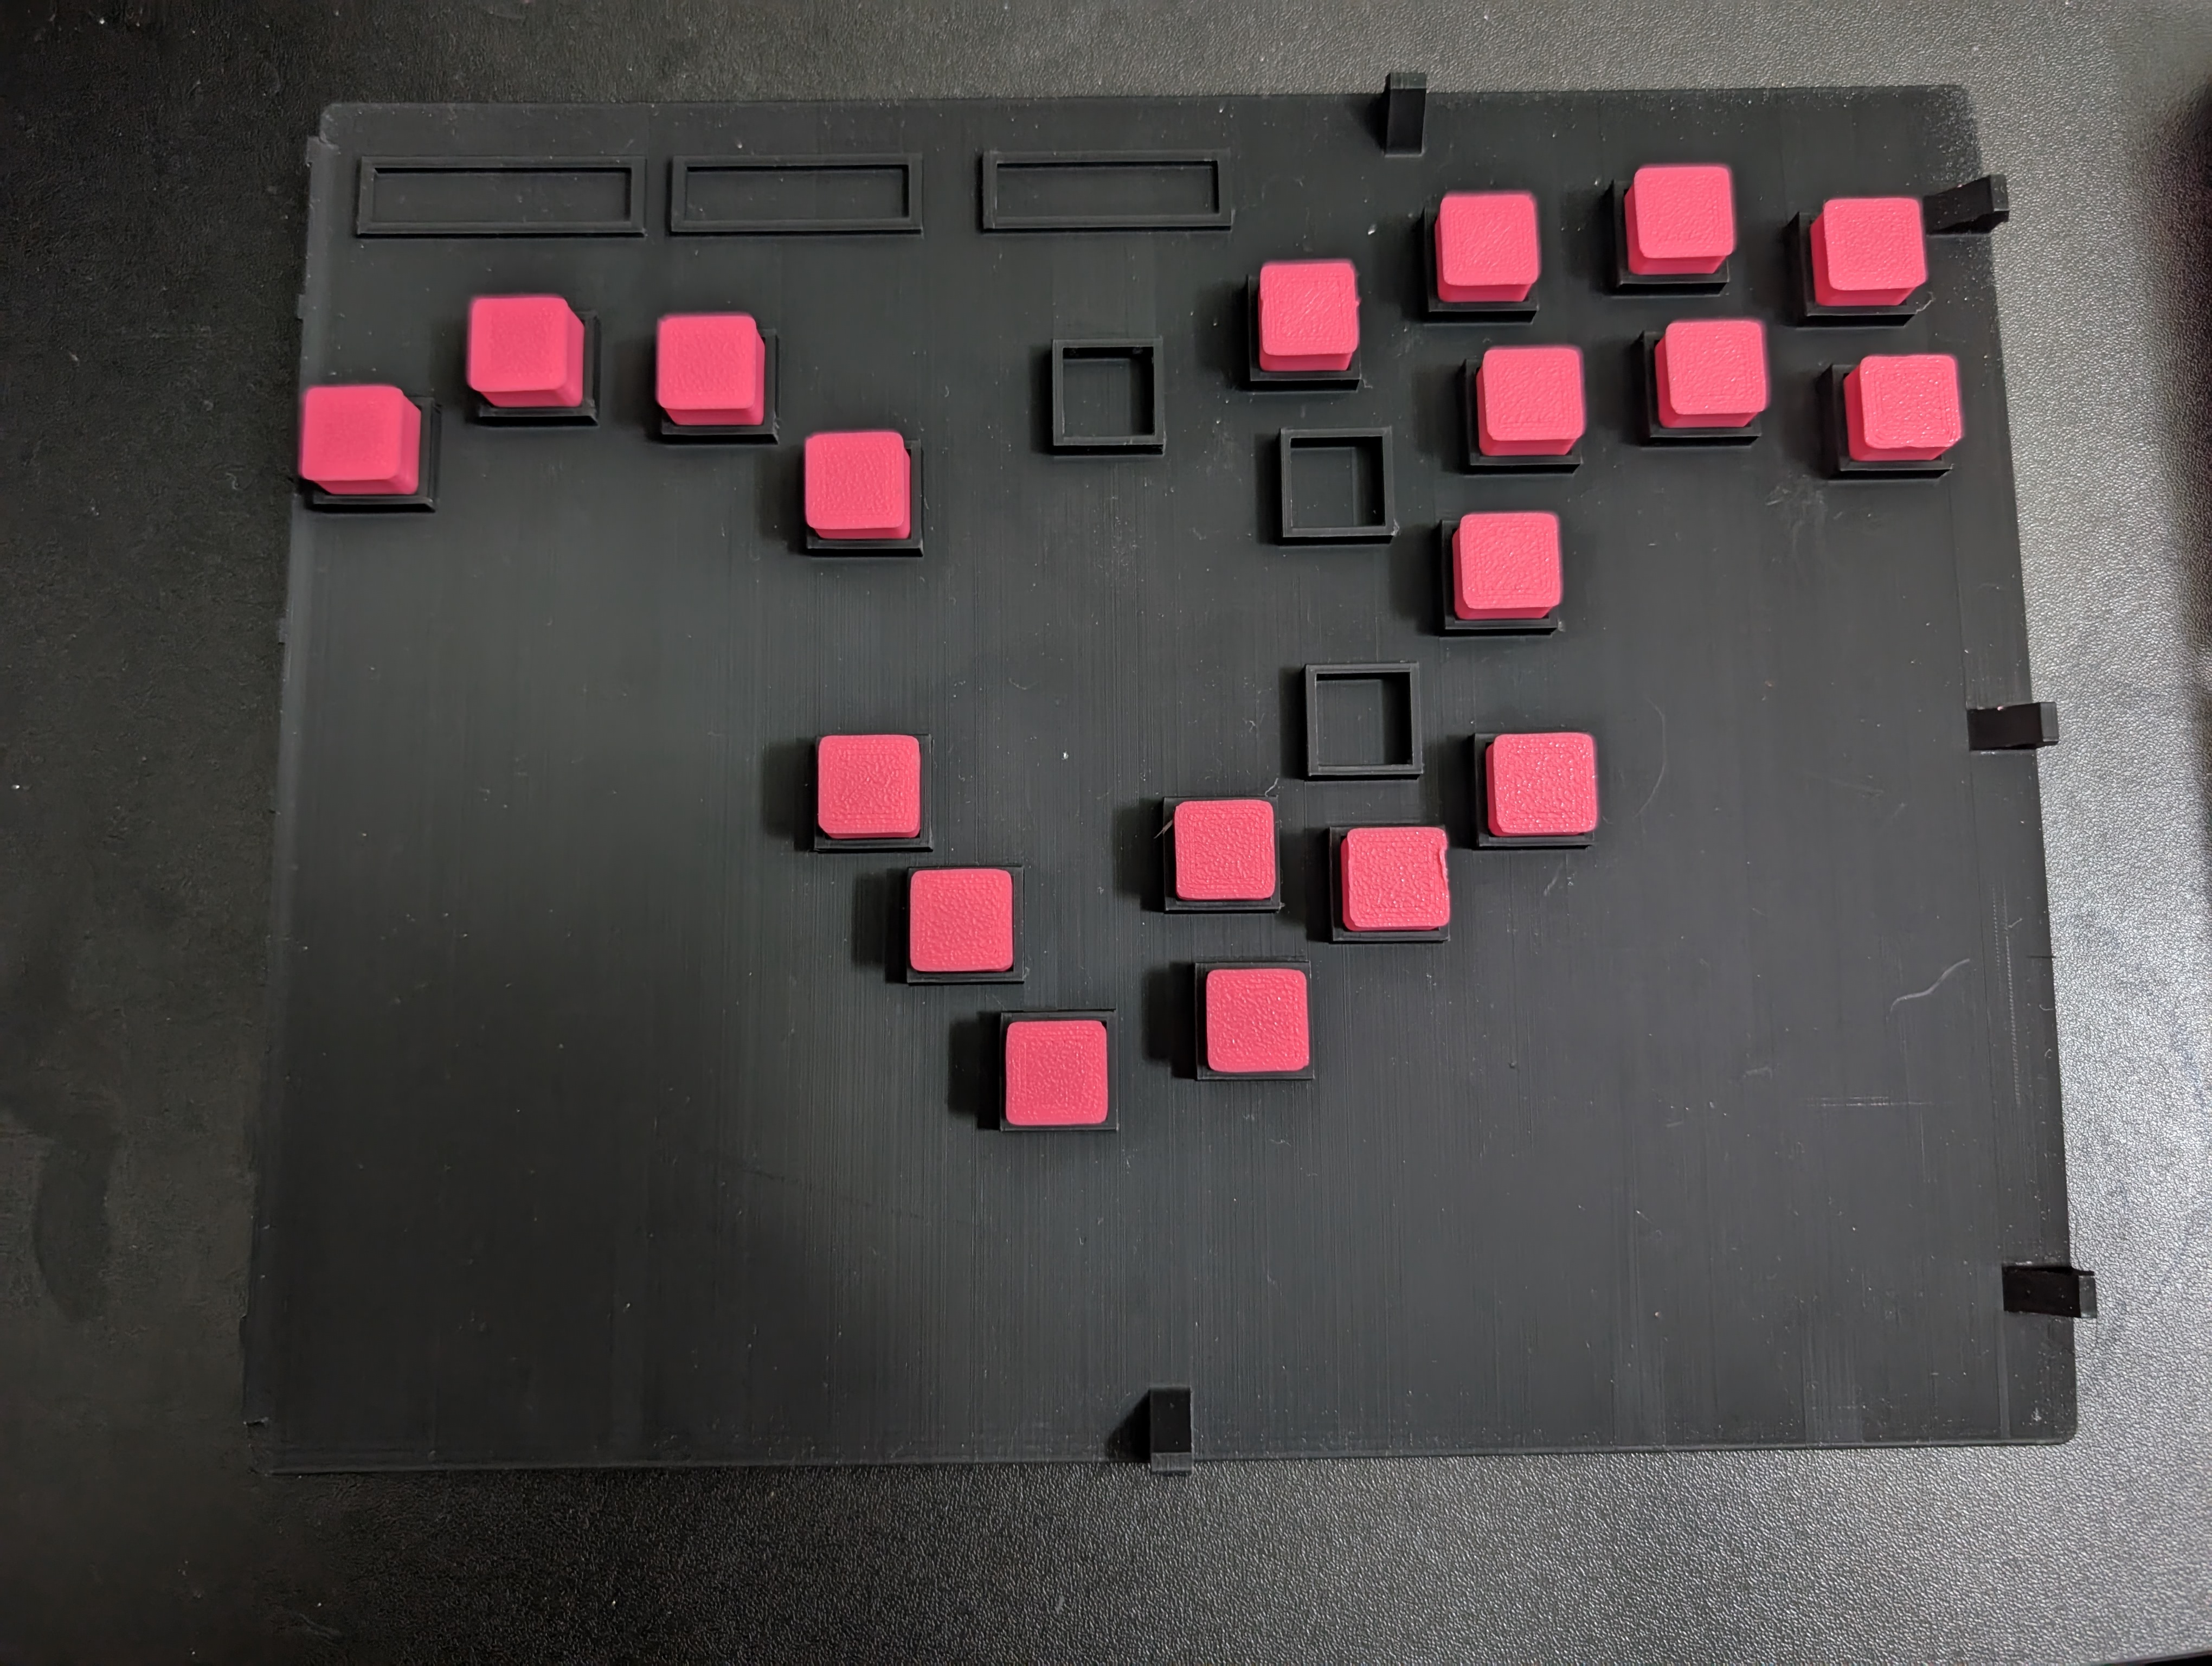
Sanding: I wet sanded my front panels with various grits (ex: 240 -> 320 -> 400 -> 800 -> 1200 -> 2000) to remove the roughness that comes with my printer's textured build plate. After a cycle with each grit, the front panel comes out smooth. I'm sure printing with other build plate's may be able to make the print smooth from the start.
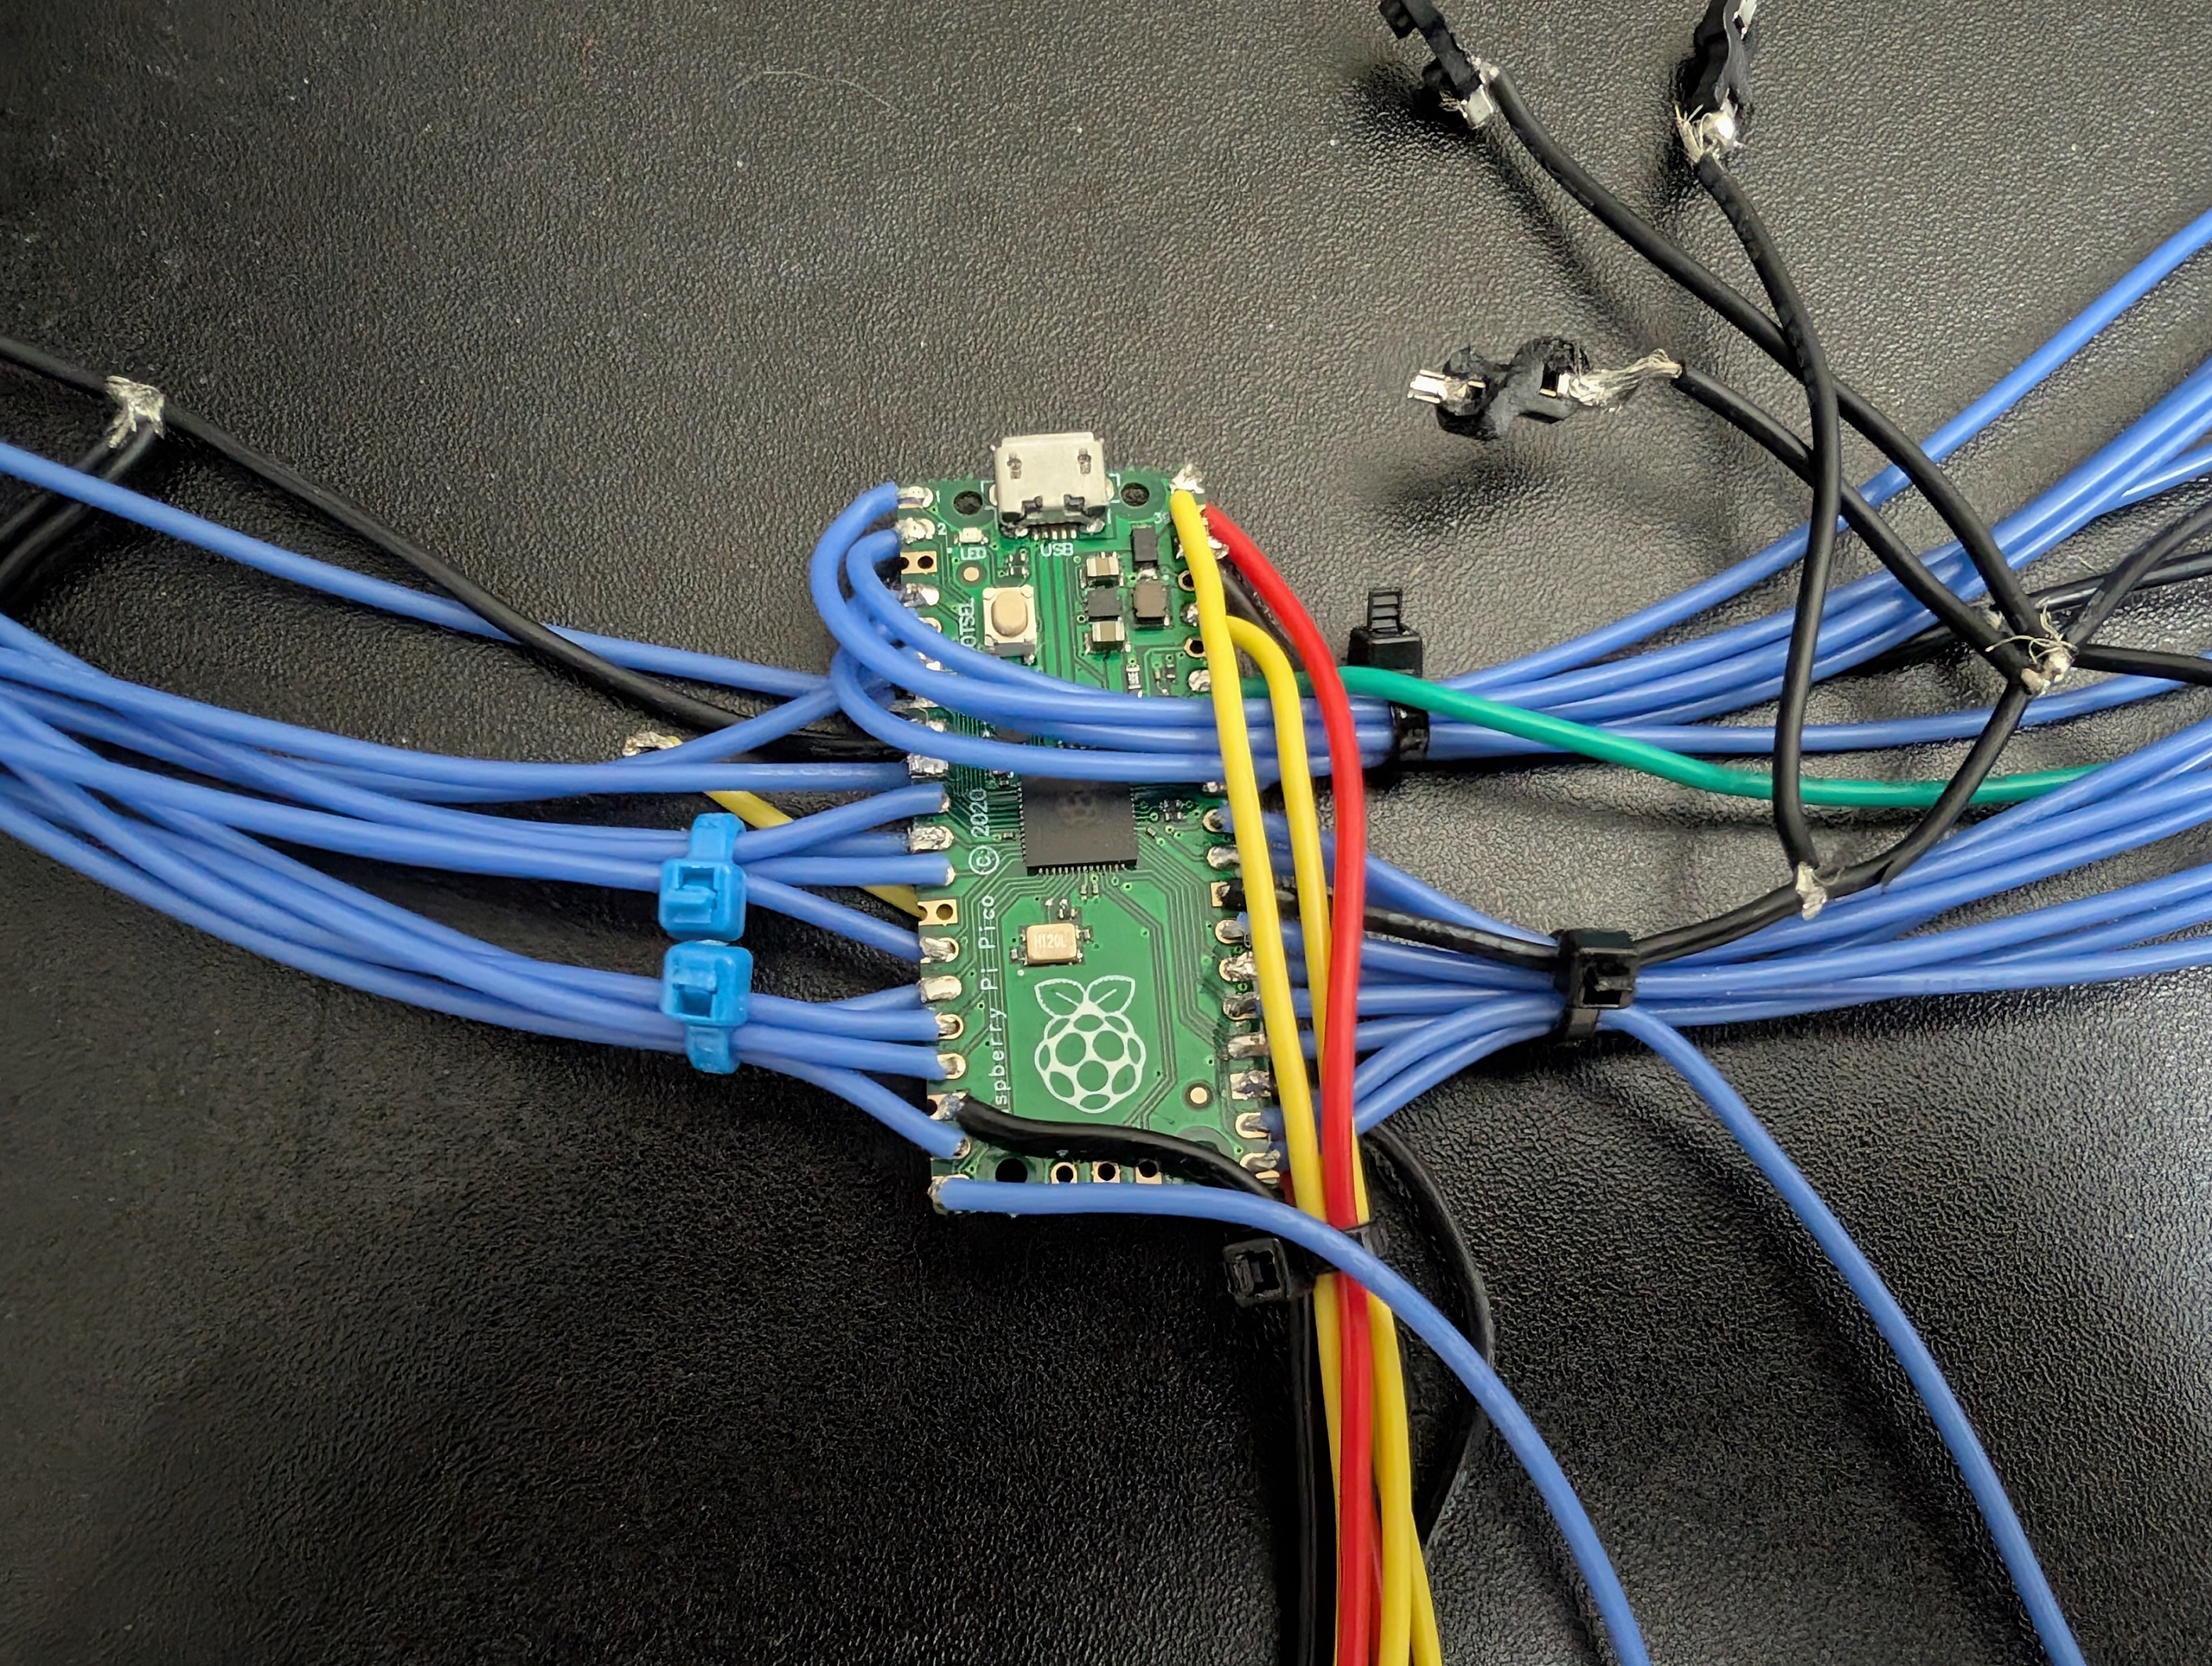
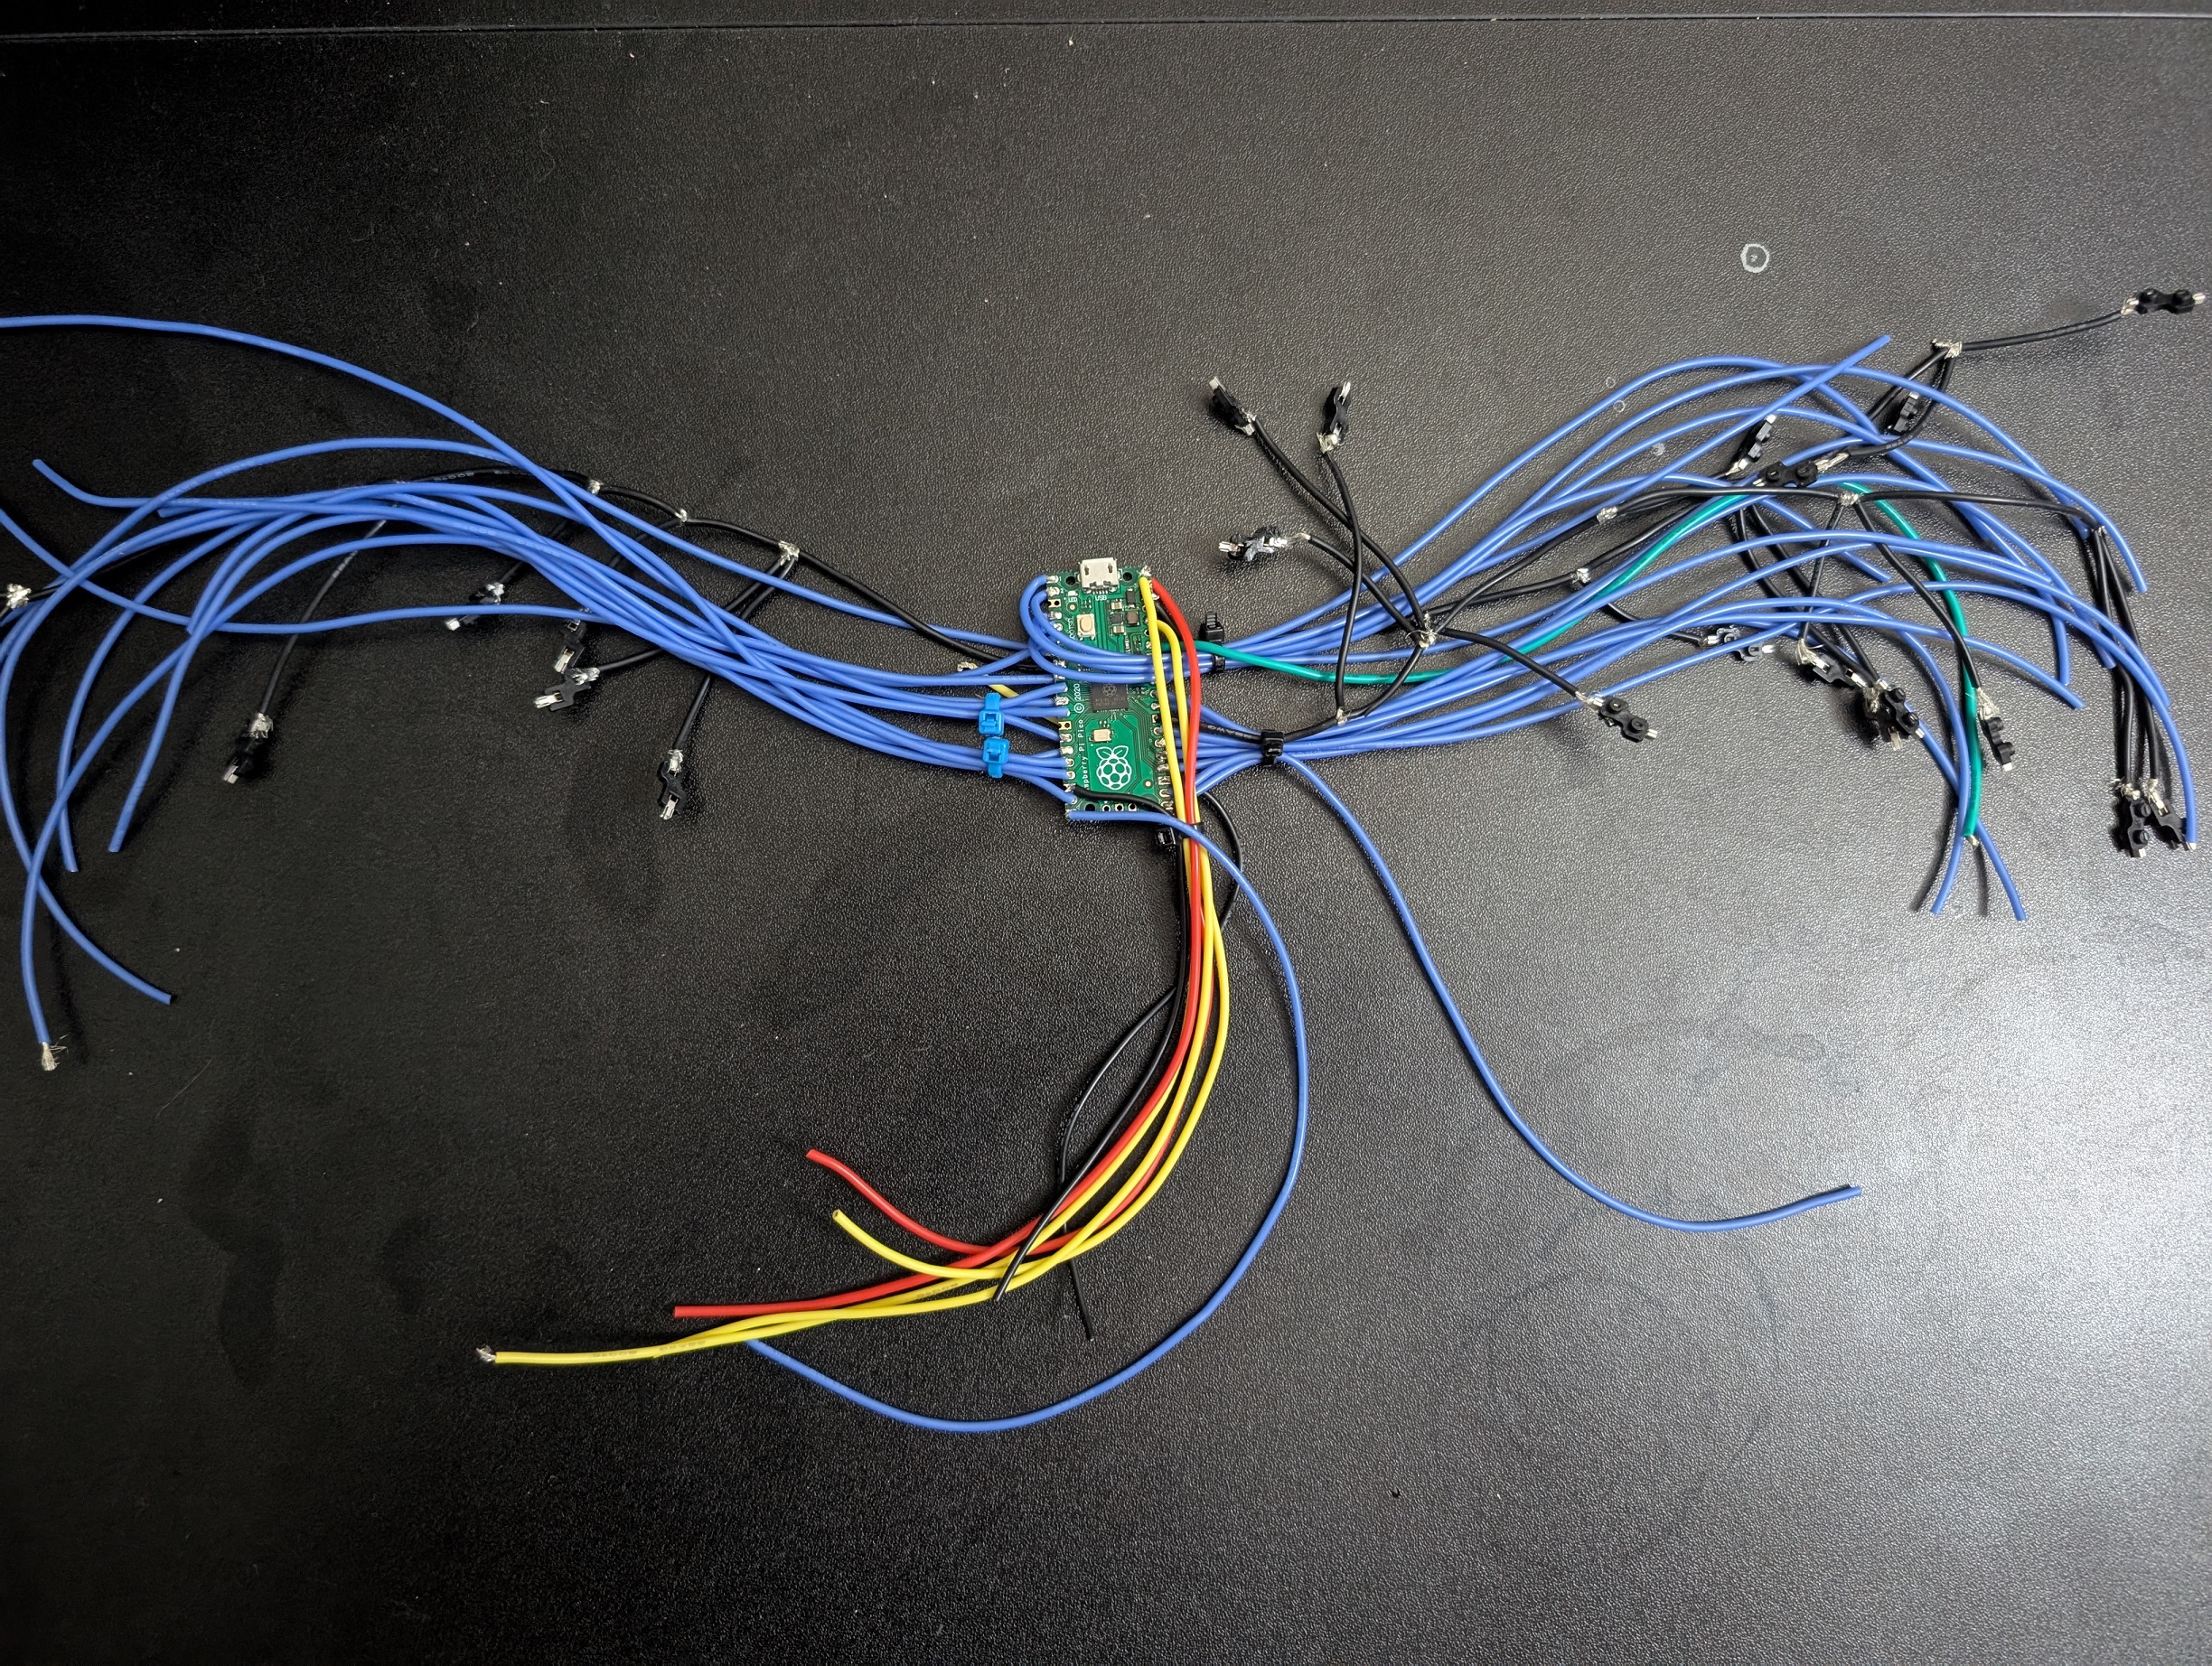
Wiring: For wiring, I used a cheap $15 soldering iron, some 0.6mm unleaded solder, and some 22 gauge wire. This project is designed for simply hand soldering wires between each connector on the OLED screen, USB-C breakout board, keyboard switches, and mini buttons to the Raspberry Pi Pico.
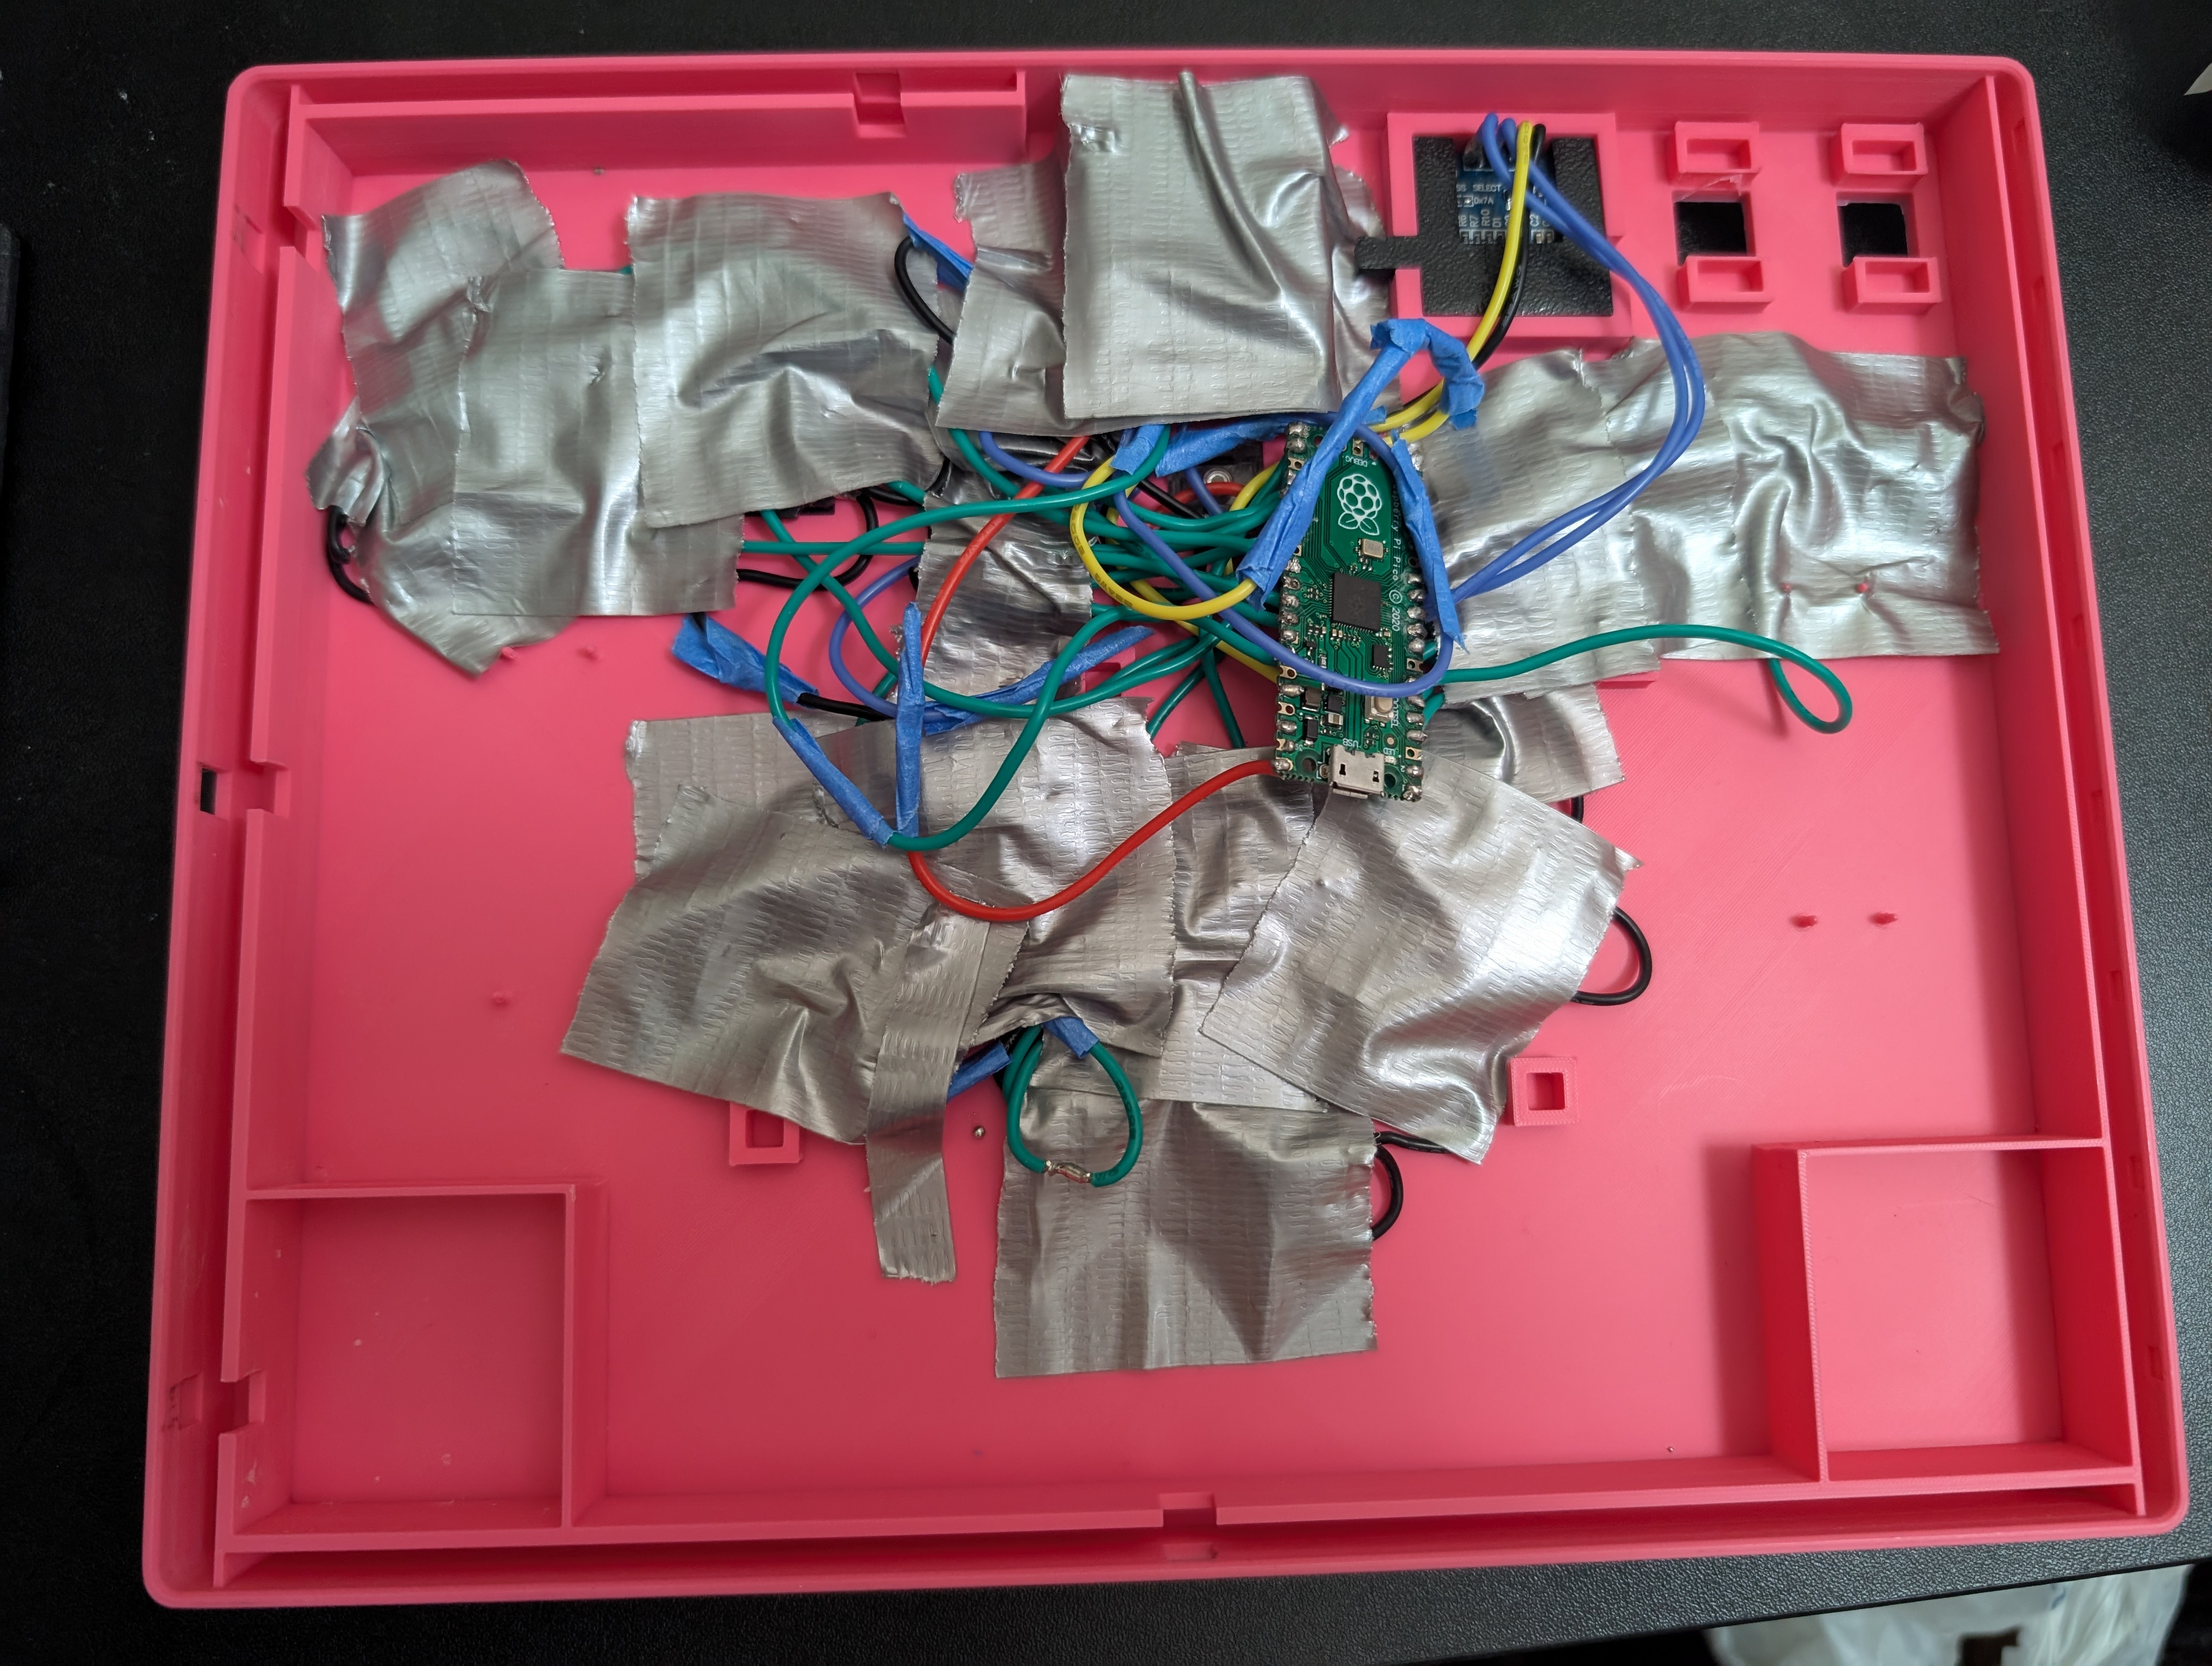
Wiring Keyswitch Sockets: For my own build, I measured out where each keyswitch socket would have to go, then measured and wired together a chain of keyswitch sockets in their respective spots with a string of black ground cables, soldered into one gnd port on the pico. Then I measured and wired one cable between each keyswitch socket and its respective GPIO pin on the pico. For my controller software, HayStack's HayBox, I could wire each socket to whichever GPIO pin was closest as I could configure which pin maps to which controller button via the HayBox firmware. I excluded the minibuttons in my build, but would have simply continued the ground chain to the mini buttons and wired them to the pico in the same way as I did the sockets if I had included them.
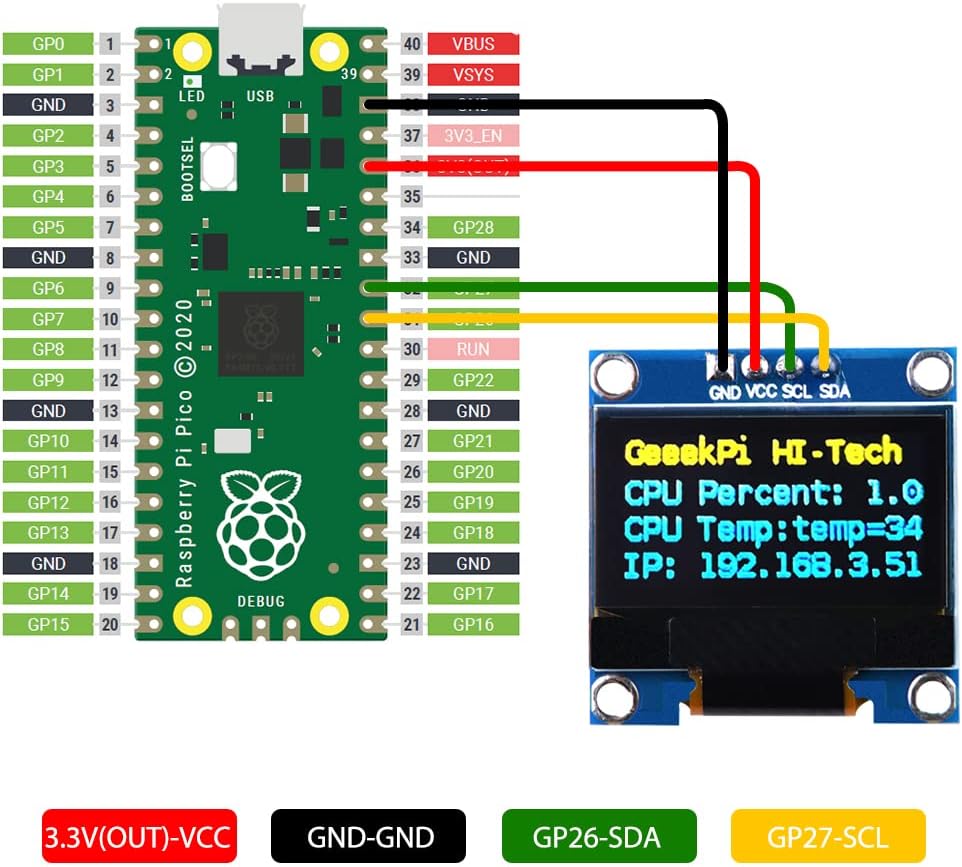
Wiring Other Parts: The Oled screen and usb-c breakout board have their own pinout diagrams which I followed. The schkotty diode is inserted in the breakout board's wiring to the pico, see the diagrams.
USB-C Breakout Board Note: I originally went with a smaller breakout board but had to switch to this extended usb-c breakout board as boxx controllers need the extra pins, along with a schkotty diode, to interact with USB in a way that allows them to function on all devices, like certain modded wii's or devices that provide certain amounts of power that would be unsupported otherwise. On my non-boxx controller design, I use a different USB-C breakout board as I don't need all the pins or diode since only a Boxx style controller would normally be used on unsupported devices (like wii, wii adapter with broken rumble line, etc).
My Build: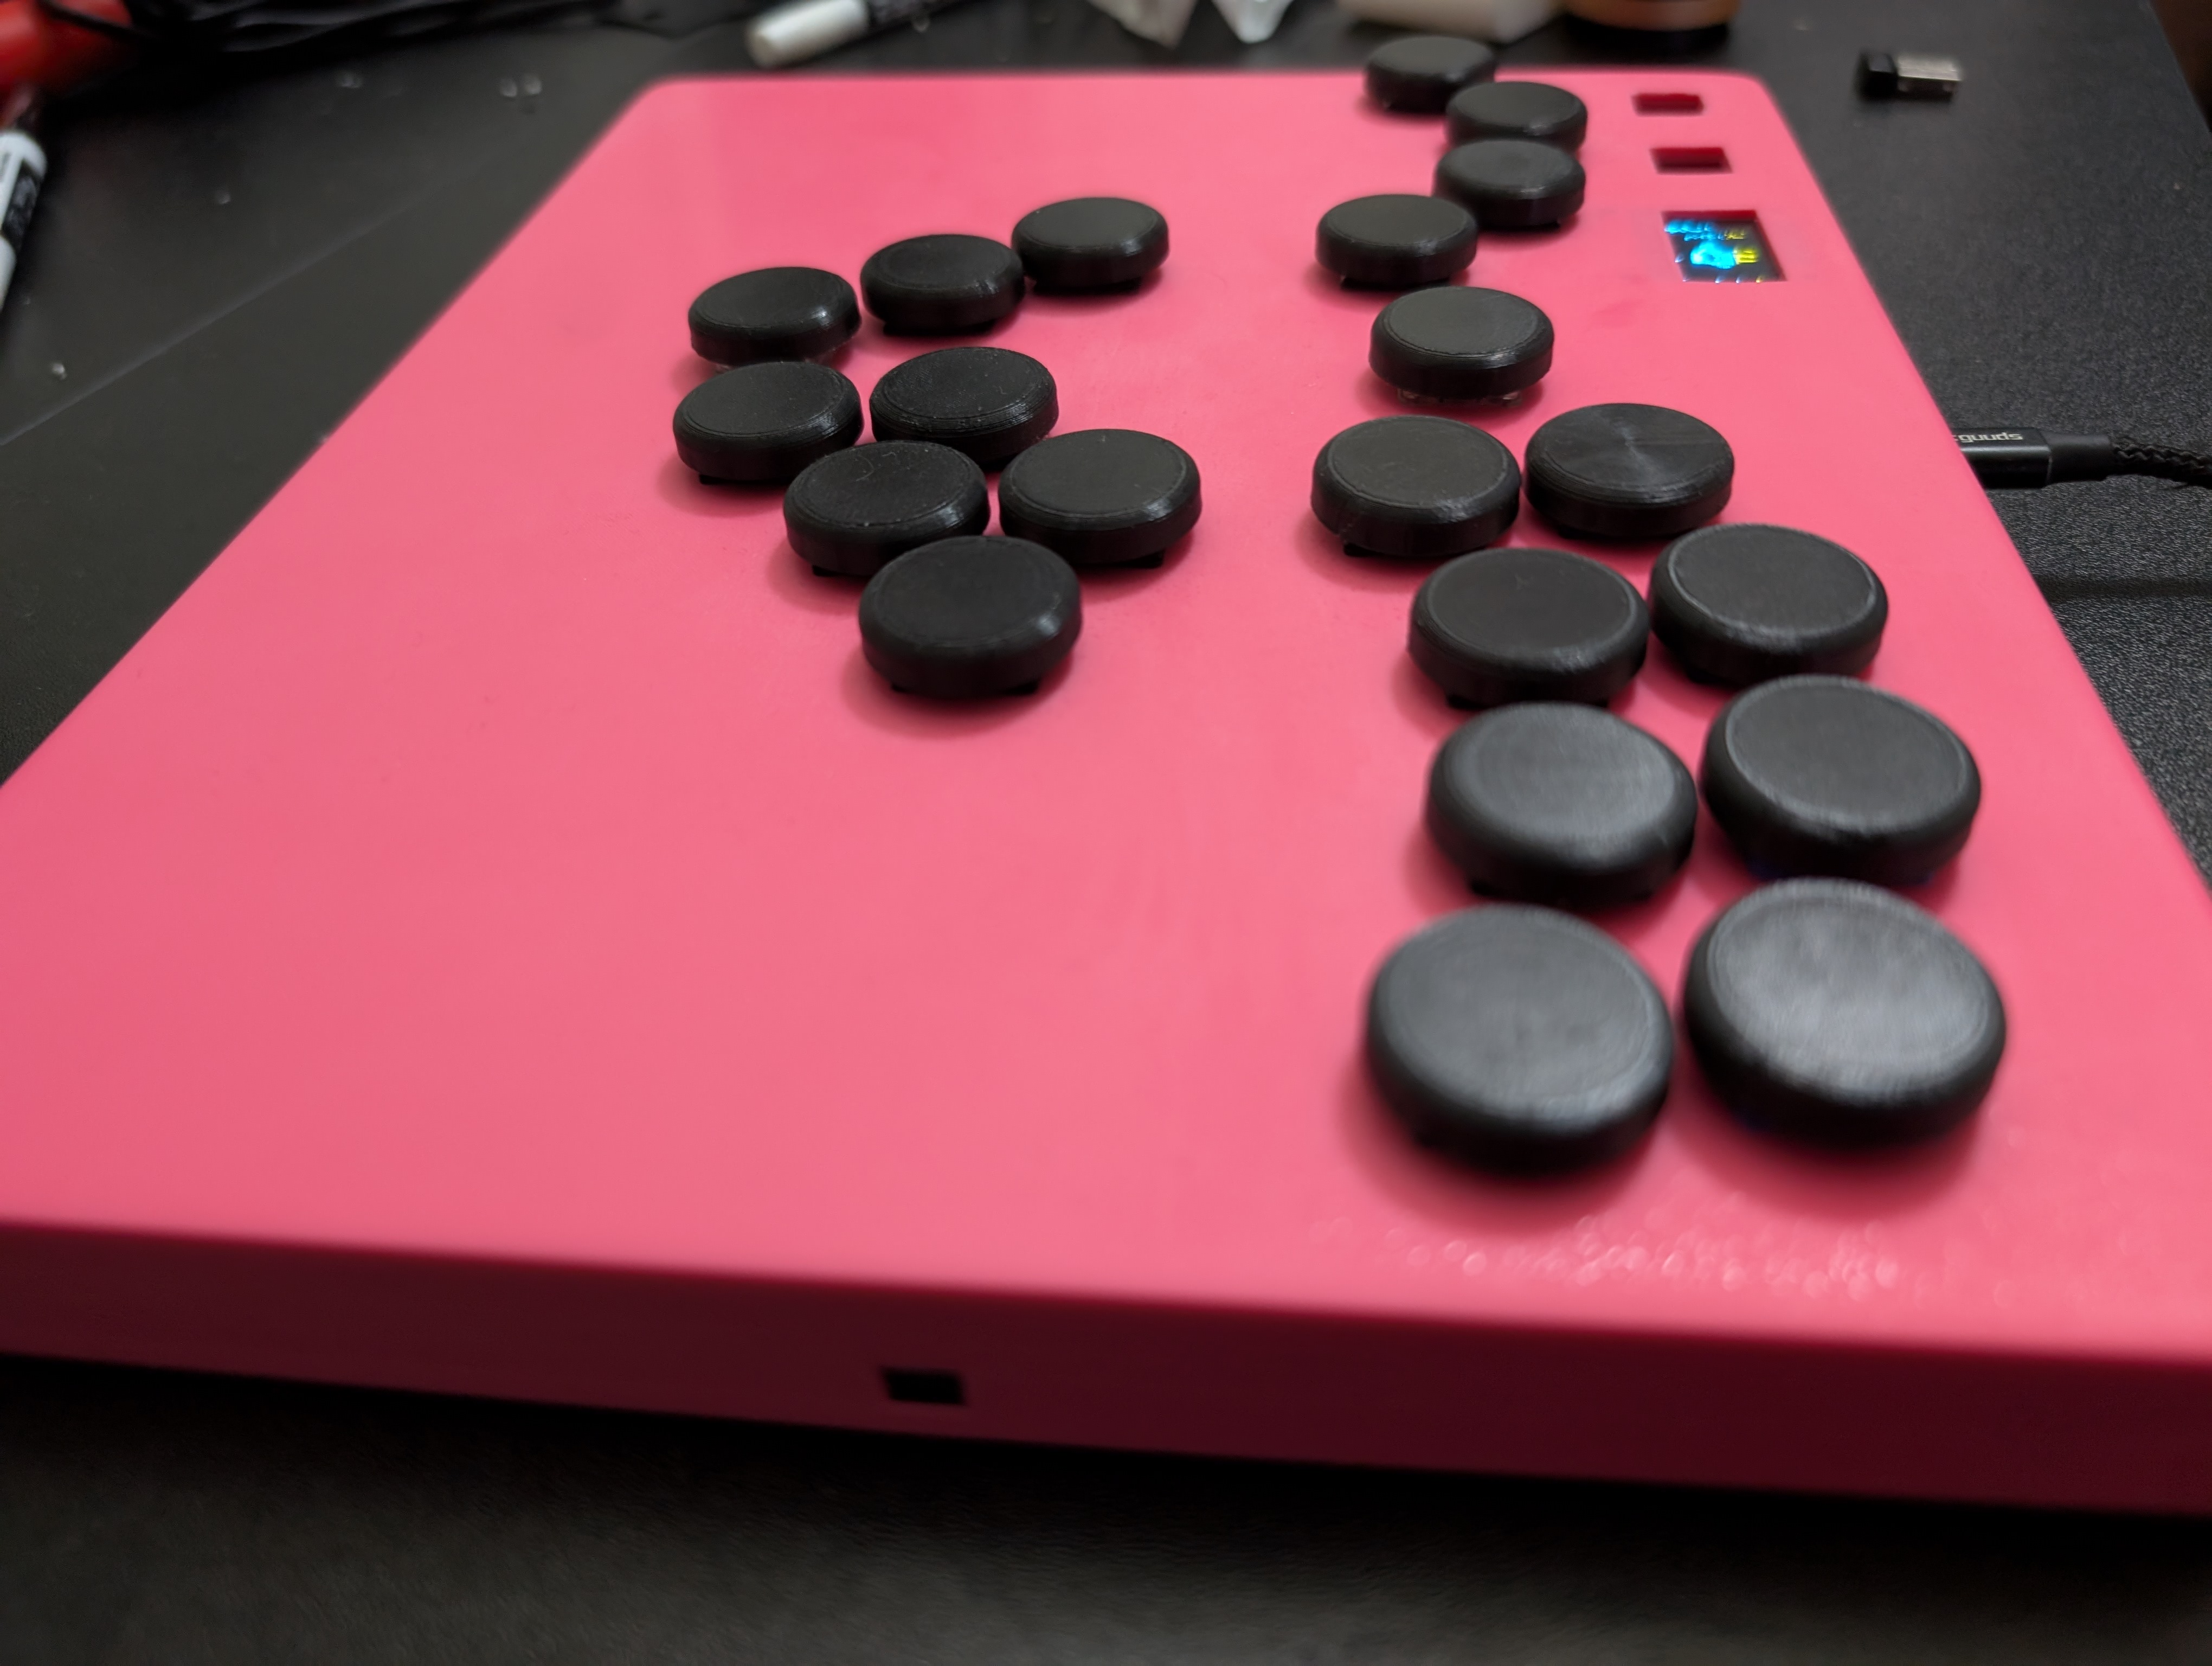
Wiring Diagram:
USB-C Breakout Board + Diode:
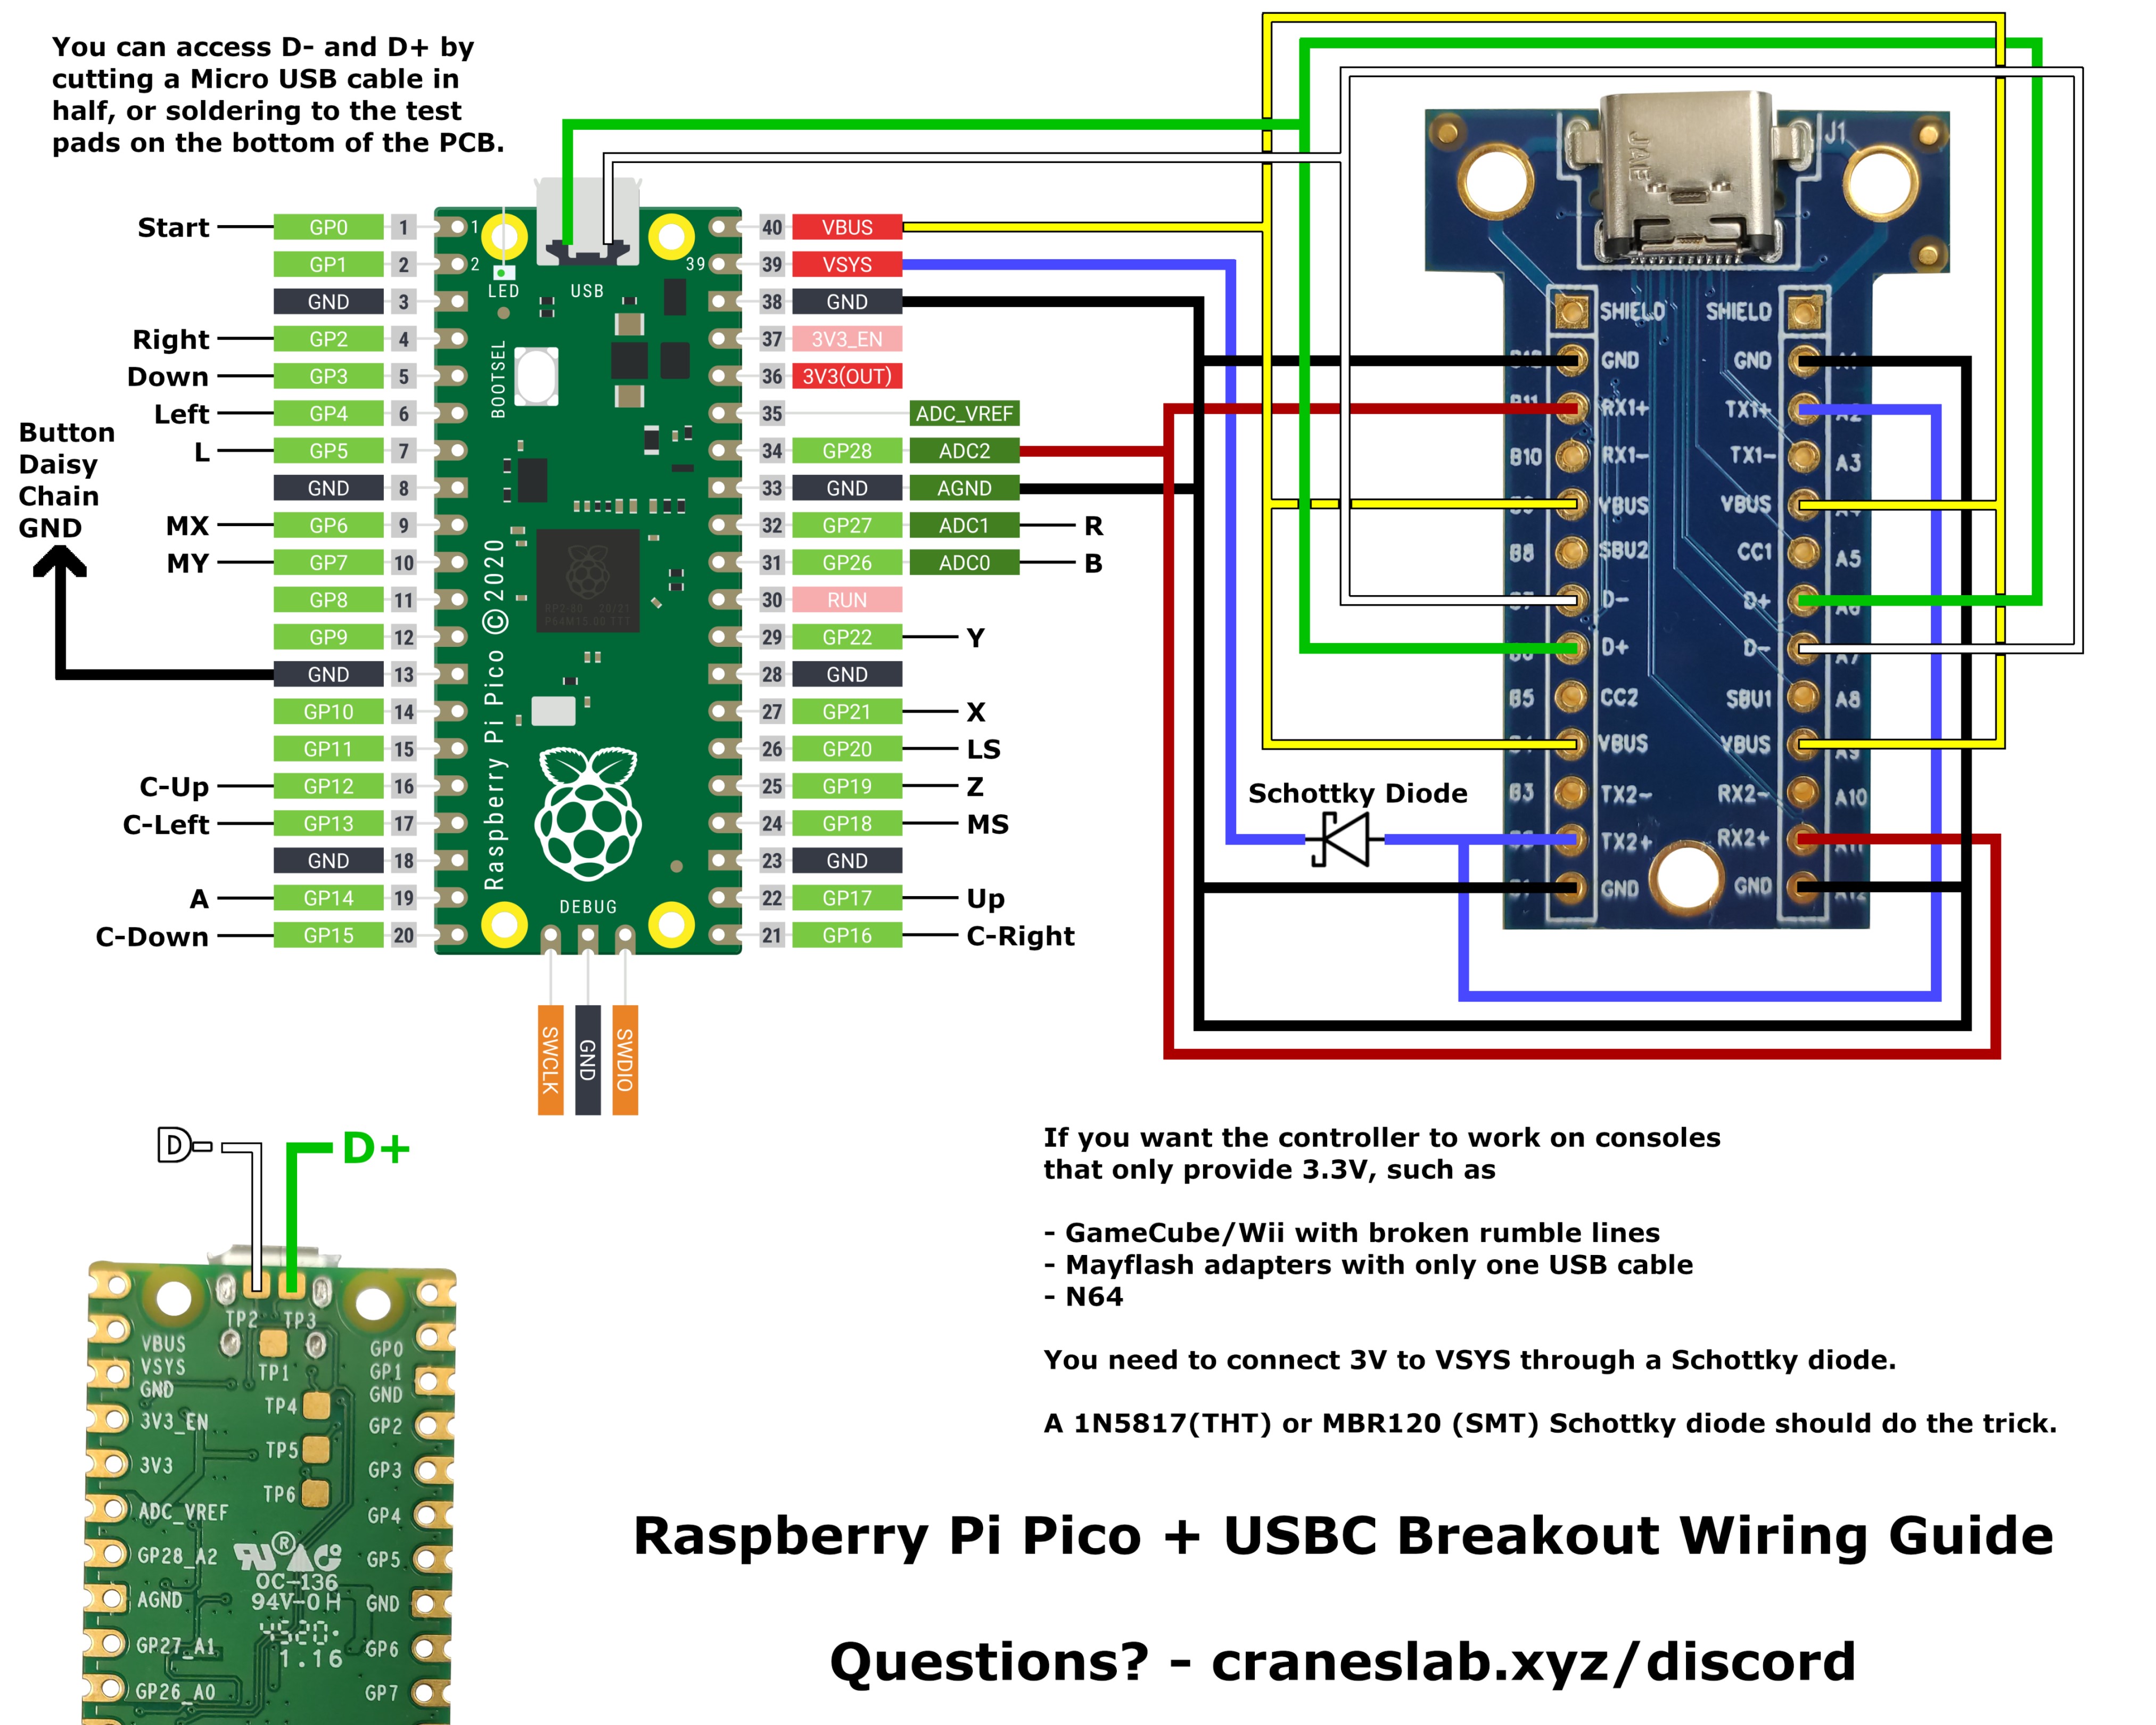
USB-C Breakout Board + Diode Diagram
Amazon Items Parts List (a lot of this stuff may be found at a local store more affordably, but some of the parts are specific to this design):
Soldering Iron (generic): https://www.amazon.com/dp/B0D92VNWVS?th=1
1N5817 Schottky Diodes (generic): https://www.amazon.com/dp/B079KDQQPD?ref=ppx_yo2ov_dt_b_fed_asin_title&th=1
Usb-C Extended Breakout Board (specific): https://www.amazon.com/dp/B09L816S5W?ref=ppx_yo2ov_dt_b_fed_asin_title
Usb-C Short Breakout Board (non-boxx design required): https://www.amazon.com/dp/B096M2HQLK?ref=ppx_yo2ov_dt_b_fed_asin_title
Oled Screen (most likely specific): https://www.amazon.com/dp/B0B7RPCZ4Z?ref=ppx_yo2ov_dt_b_fed_asin_title
Mini Buttons (specific) :https://www.amazon.com/dp/B07X8T9D2Q?ref=ppx_yo2ov_dt_b_fed_asin_title&th=1
High Quality Keyswitches, Short Travel Time (generic): https://www.amazon.com/dp/B0D5LX97PV?ref=ppx_yo2ov_dt_b_fed_asin_title
High Quality Keyswitches, Ultra-Short Travel Time (generic): https://www.amazon.com/dp/B0DRCQ8L6D?ref=ppx_yo2ov_dt_b_fed_asin_title
22 Gauge Wire (generic): https://www.amazon.com/dp/B0DK571MVD?ref=ppx_yo2ov_dt_b_fed_asin_title&th=1
2 Raspberry Pi Picos (generic): https://www.amazon.com/dp/B0CPMBRVDX?ref=ppx_yo2ov_dt_b_fed_asin_title&th=1
Many Grits of Sandpaper (generic): https://www.amazon.com/dp/B07KV3VX97?ref=ppx_yo2ov_dt_b_fed_asin_title
Optional Kailh Low Profile Hot-Swap Switch Sockets: Can be found on amazon, but much more affordable on other resellers like aliexpress
Download From GitHub: https://github.com/Cactys3/Custom-Melee-Boxx-Controller/tree/main
More Images:
Download
Click download now to get access to the following files:
Leave a comment
Log in with itch.io to leave a comment.